Though I’ve entertained the thought of making sliding dovetails for several years, I never got round to it until a few months ago, when I got my hands on a small but stunning mahogany tabletop. It didn’t take long for the Paul Sellers spice shelf (free project on WWMC) to spring to mind, since I had frequently looked at it with desire, with those ten interlocking joints that come together without the need of any glue! I could not have been more pleased with my decision to make it, and I hope many more will give it a go.
There’s nothing mystical about sliding dovetails so I hope not to portray them as such. It’s just another joint; a fascinating one though, and a mystery how it’s not used more widely. As interesting and novel as it may seem, I believe its biggest value lies in its potential to test your character and teach you accuracy, if you actually set your mind to achieving a good, tight joint. That in itself is invaluable, and it’s the main reason why I would encourage all woodworkers to take on this challenge, even if the actual joint doesn’t draw your attention too much. Of course, at a practical level, there are larger scale applications of the joint I have not yet tried and I very much look forward to doing so.
The Nature of Sliding Dovetails
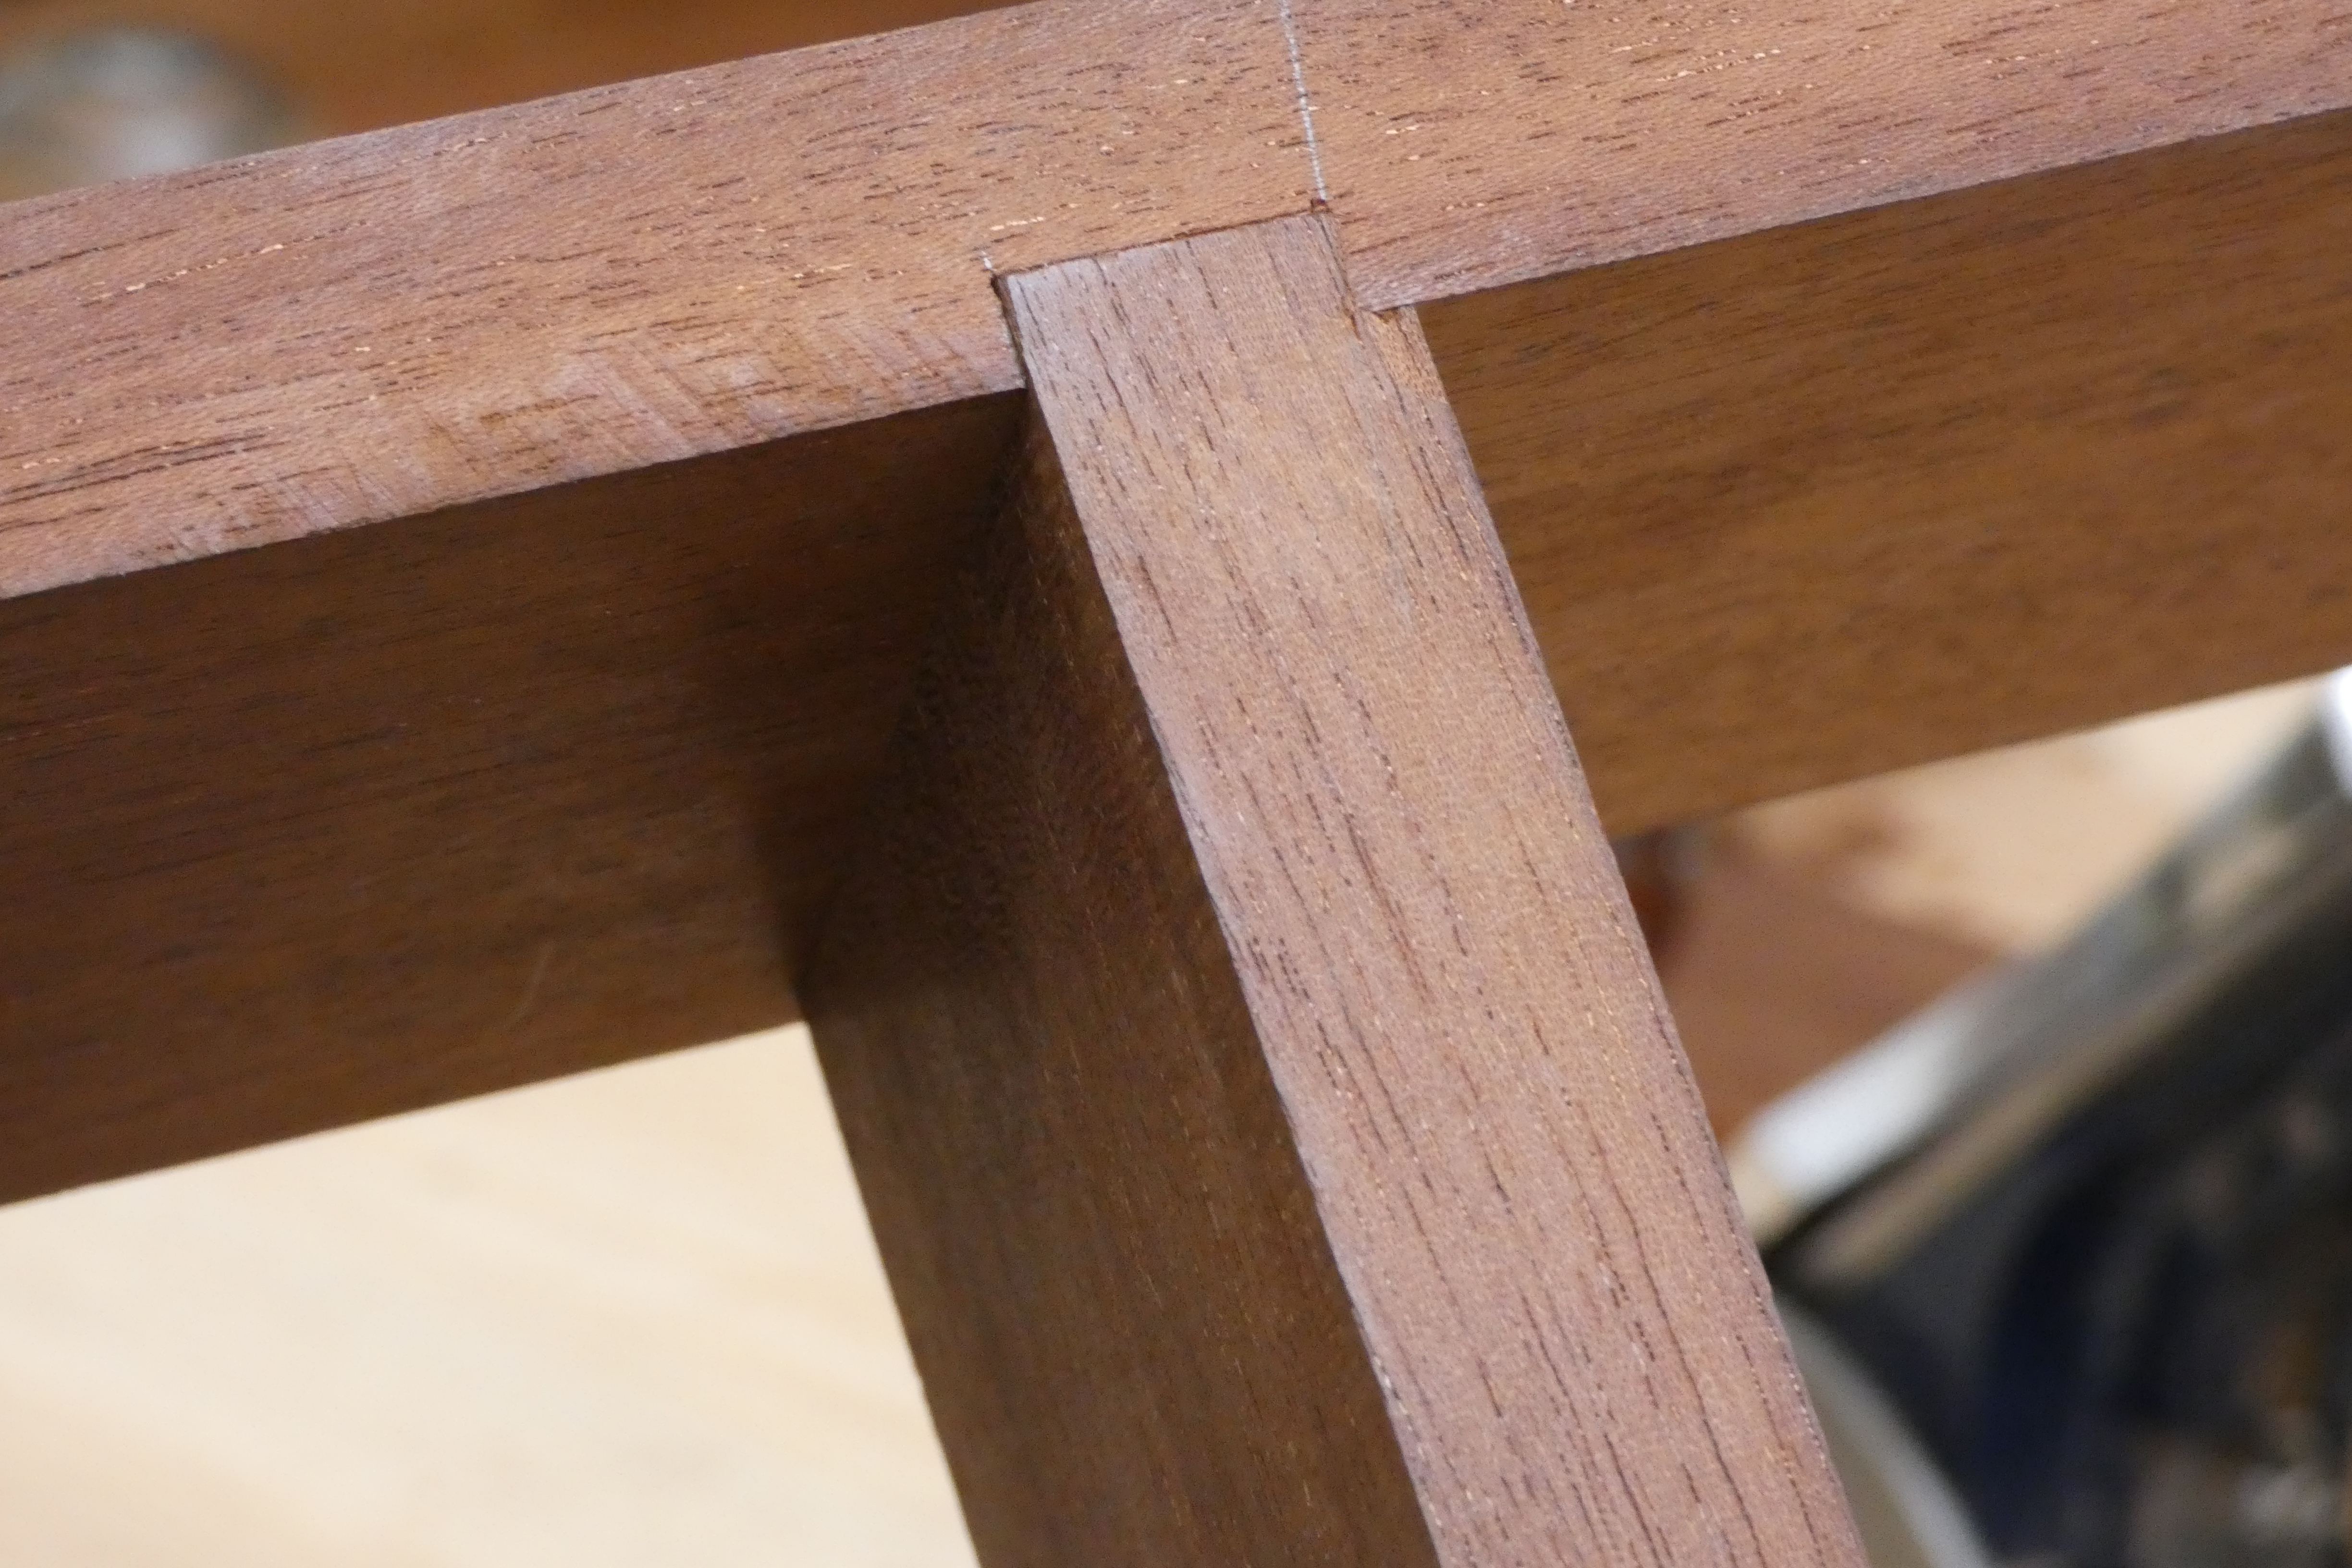
Contrary to what the name might suggest, the sliding dovetail is closer to a housing dado joint both in terms of construction and application. If you haven’t come across it before, it basically consists of one end of a board, with a shoulder on one or both sides, housed into a cross-grain, tapered recess on a second board. The dovetail element refers to the fact that one, or both, sides of the housed ends (along with the corresponding walls in the recess) are not square but angled -dovetailed- so that the joint only comes together by ‘sliding’ in from the wide end of the recess.
Making a Sliding Dovetail
If you’re looking for a complete instructional guide to making a sliding dovetail, I don’t believe you will find anything better than Paul’s WWMC project series on making the spice shelf. As I mentioned, it’s available with a free account so anyone can access. However, what I would like to share here are a few points I found particularly useful to emphasise, regarding the actual making of the joint, which will help if you’ve previously felt intimidated by the thought of making such a seemingly complicated joint. I also suggest one minor change in the layout that has simplified the procedure for me quite a lot in all the projects with sliding dovetails I’ve made so far.
Even if I am obsessing a little over this (amazing) spice shelf, from an educational point of view, I can see two clear reasons why the sliding dovetails used in this project are the perfect place to start if you want to learn how to make the joint by hand; namely, that these are i) single-sided sliding dovetails and ii) only 3/16″ (5mm) deep. This size and basic version of the joint allow you to focus on the nature and mechanics of the joint itself by eliminating certain complexities that may come with other (later) applications. Essentially, making these joints does not demand a lot of energy, but careful concentration and real sensitivity, as much in the layout as in the cutting and fitting. This means that you can go about it in a very much relaxed manner, taking all the time you need and concentrating on the importance of accuracy (including not least staying on top of sharpening).
Note: I do not believe a through sliding dovetail (not stopped) would be an easier place to begin. It may seem that way if you are a raw beginner in hand tool woodworking, in which case I would strongly recommend that you first work at the housing dado joint until you’re fairly confident with it before moving on to the sliding dovetails. (See further down for the reason I discourage sawing down the walls.)
Considerations when cutting the recess
Laying out for the recess is simple enough and almost identical to a common housing dado. You must make two knifewalls across the grain (one square and one slightly tapered) to mark the boundaries of the recess, which of course must be narrower than the thickness of the piece to be housed. On the edge, at the end of the recess, establish the depth with a marking gauge.
Once you have laid out the taper along the length of the first recess, set a dedicated sliding bevel to that pitch and keep it set to lay out all the other recesses, even though, for the shelves, the recesses are a little shorter. I say this because personally, after a decade+ of working with hand tools, I still prefer to use a sliding bevel when I can’t use a square for angled cuts, rather than holding a straightedge down where it might slip if I don’t press down hard enough as I make a knifewall. Aside from the added security you get from the sliding bevel, this will save you some time when laying out, since all you need to measure for subsequent recesses is the distance between knifewalls at the wide end.
Also, if you are making this joint for the first time, there is also a psychological element that the sliding bevel helps with: when laying out the recesses, both walls are laid out in exactly the same way, the only difference being that you’re using a square for the perpendicular wall and a sliding bevel for the tapered wall.

With regards to the depth of the recess mentioned above, the main advantage is that it is doesn’t take too much work to chop down the walls to depth with a wide chisel. Plus, it is best to chop them both square down like a common housing dado without worrying about the dovetail angle. You can easily pare down to the exact pitch later with a simple guide.
Why chop and not saw? Because sawing accurately to a knifewall is much more demanding than we generally think. That’s right, chopping is easier to get right, even though it may take longer. But again, accuracy (and not efficiency) is essential to making a good sliding dovetail, and that’s the aim for now. Efficiency can be discussed later, once the process is down. But even though I personally do saw down the walls when I’m working on deeper recesses, I still use a guide to pare to the exact angle. Also, bear in mind that chopping the walls compresses the ends of the wood fibres into themselves and leaves a crisp, solid wall.
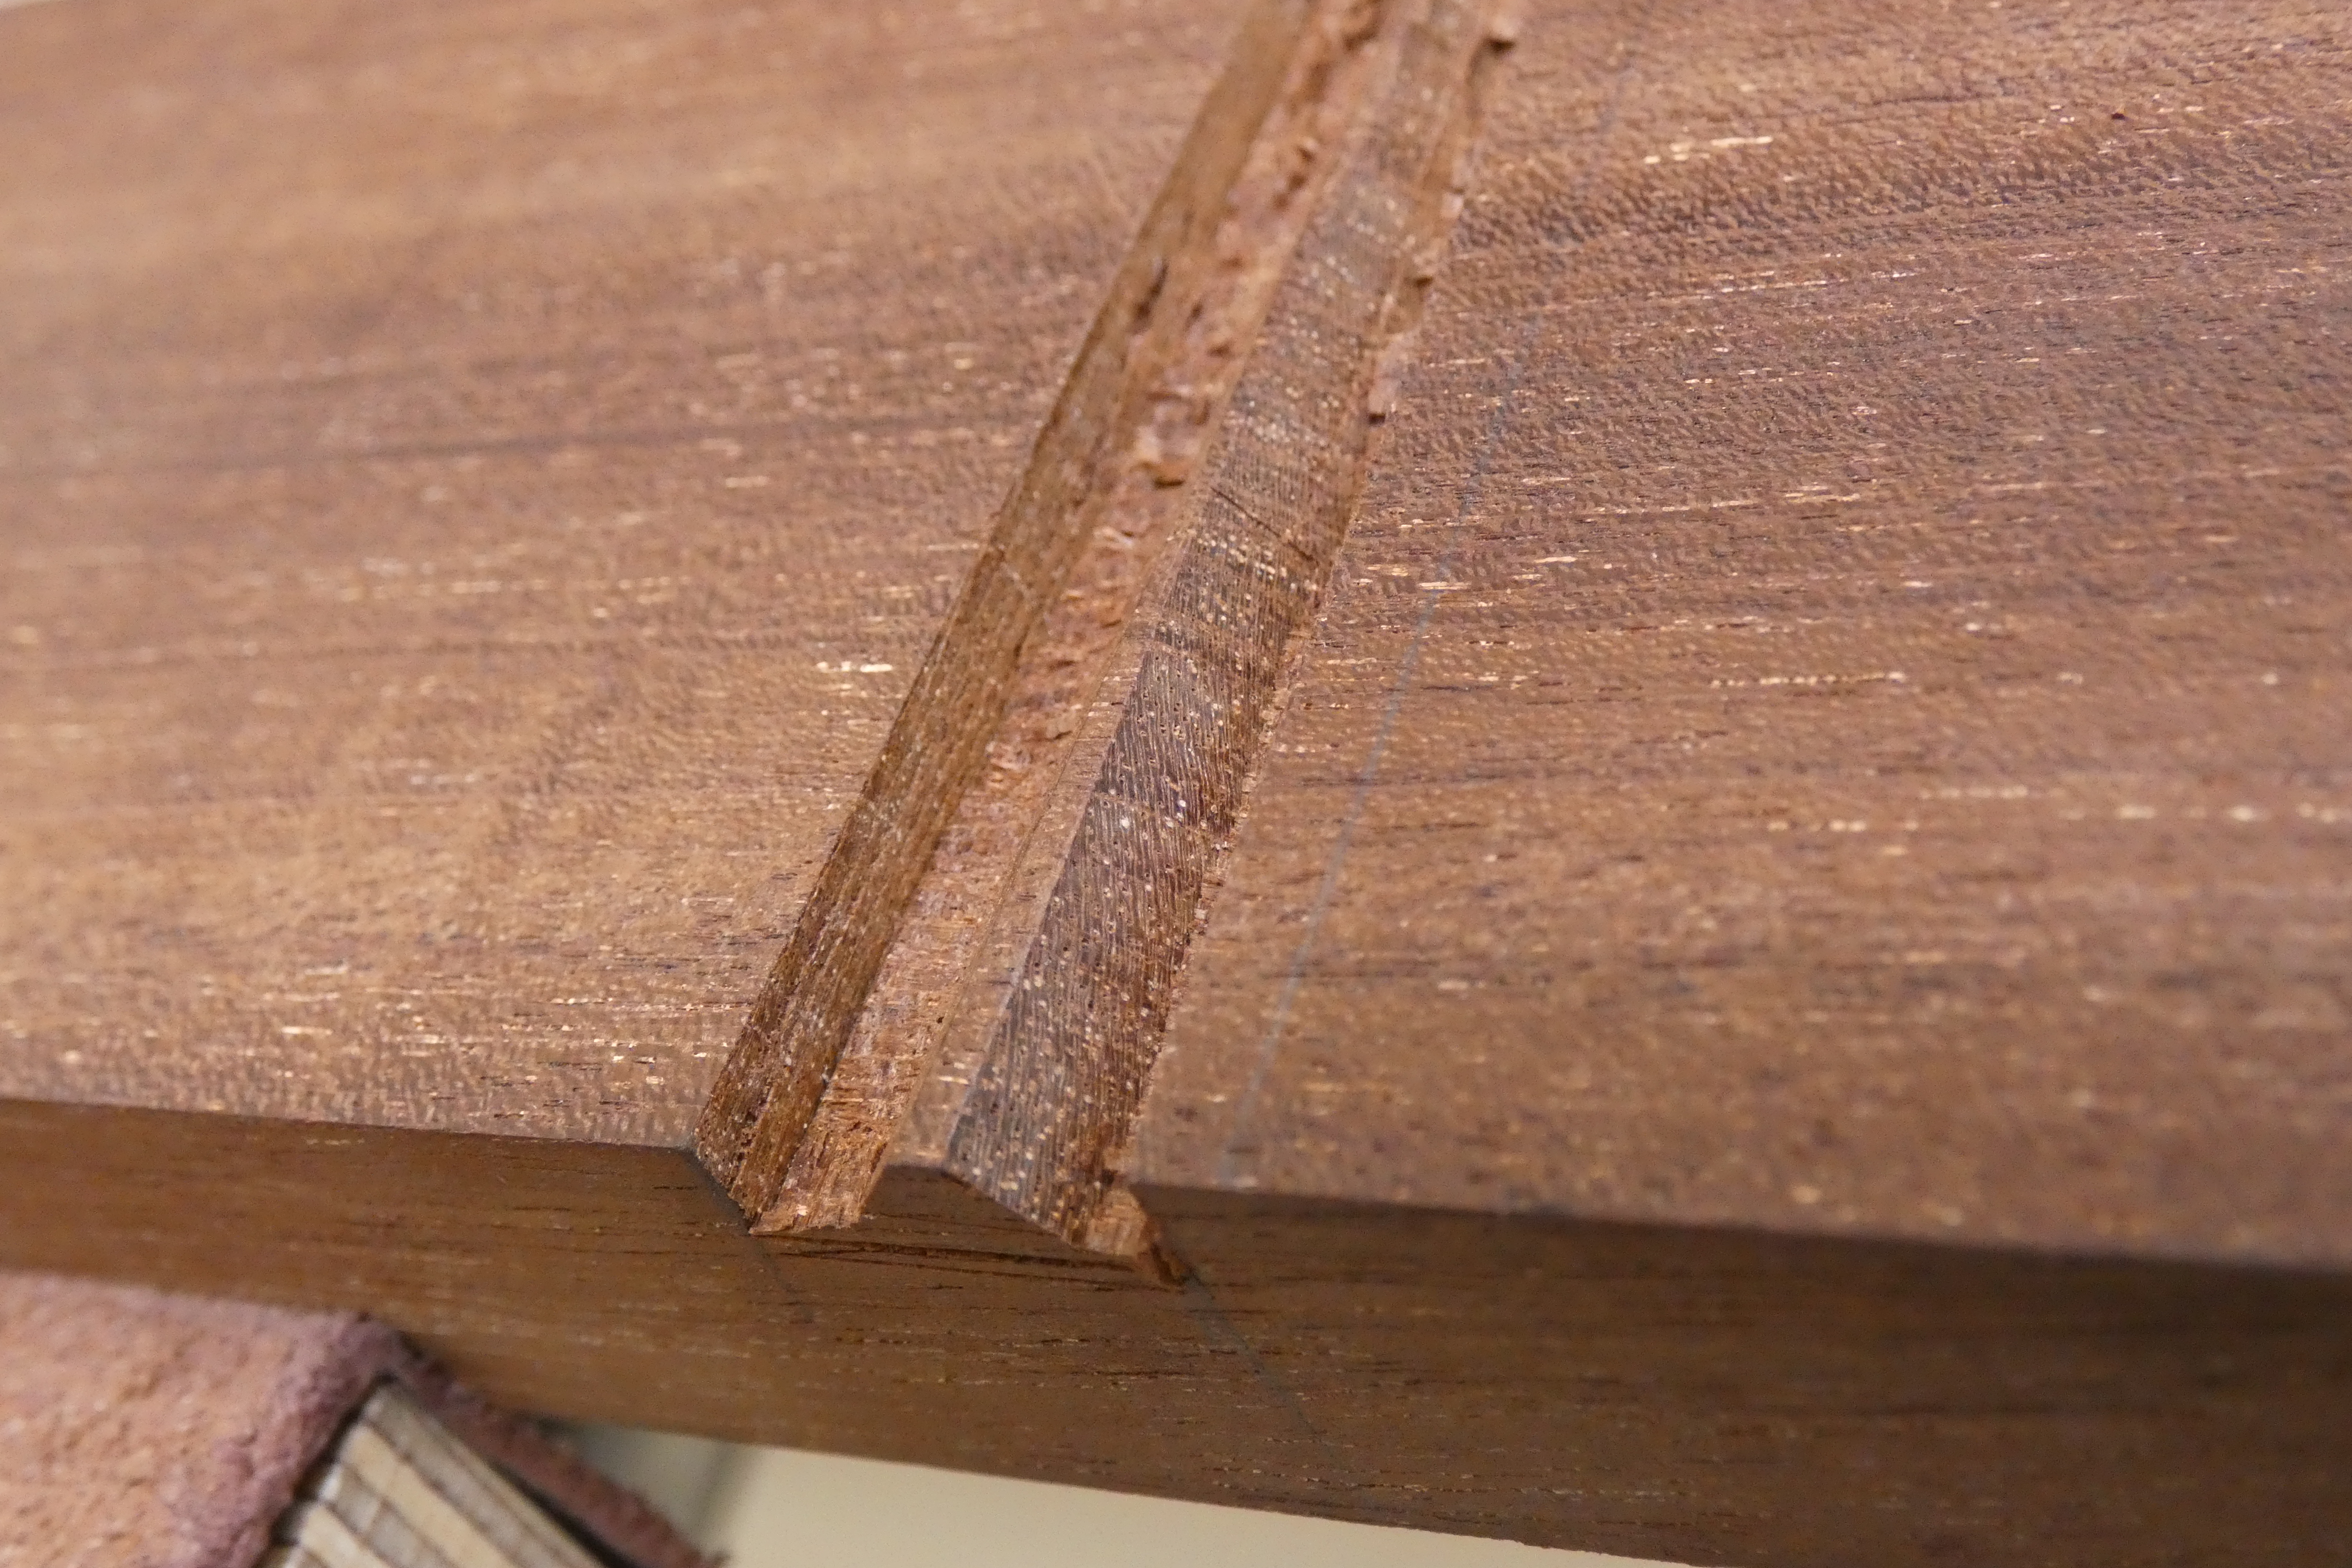
With the tapered recesses levelled with a router, you can then make a simple guide by cutting a 1:7 pitch across the end of a scrap piece of wood, as shown below. By aligning the front edge with the original trace of the knifewall on the tapered recess and clamping together in the vise, you can pare the shoulder with a sharp chisel to achieve the exact dovetail angle.


Part II coming up shortly

Leave a comment