This is the second of a two part post on making sliding dovetails by hand. Here is Part I if you missed it.
With the recess cut and trimmed, you must now cut the end of the piece to be housed before fitting it to the corresponding recesses.
Considerations when cutting the sliding ‘dovetail’ (housed end)
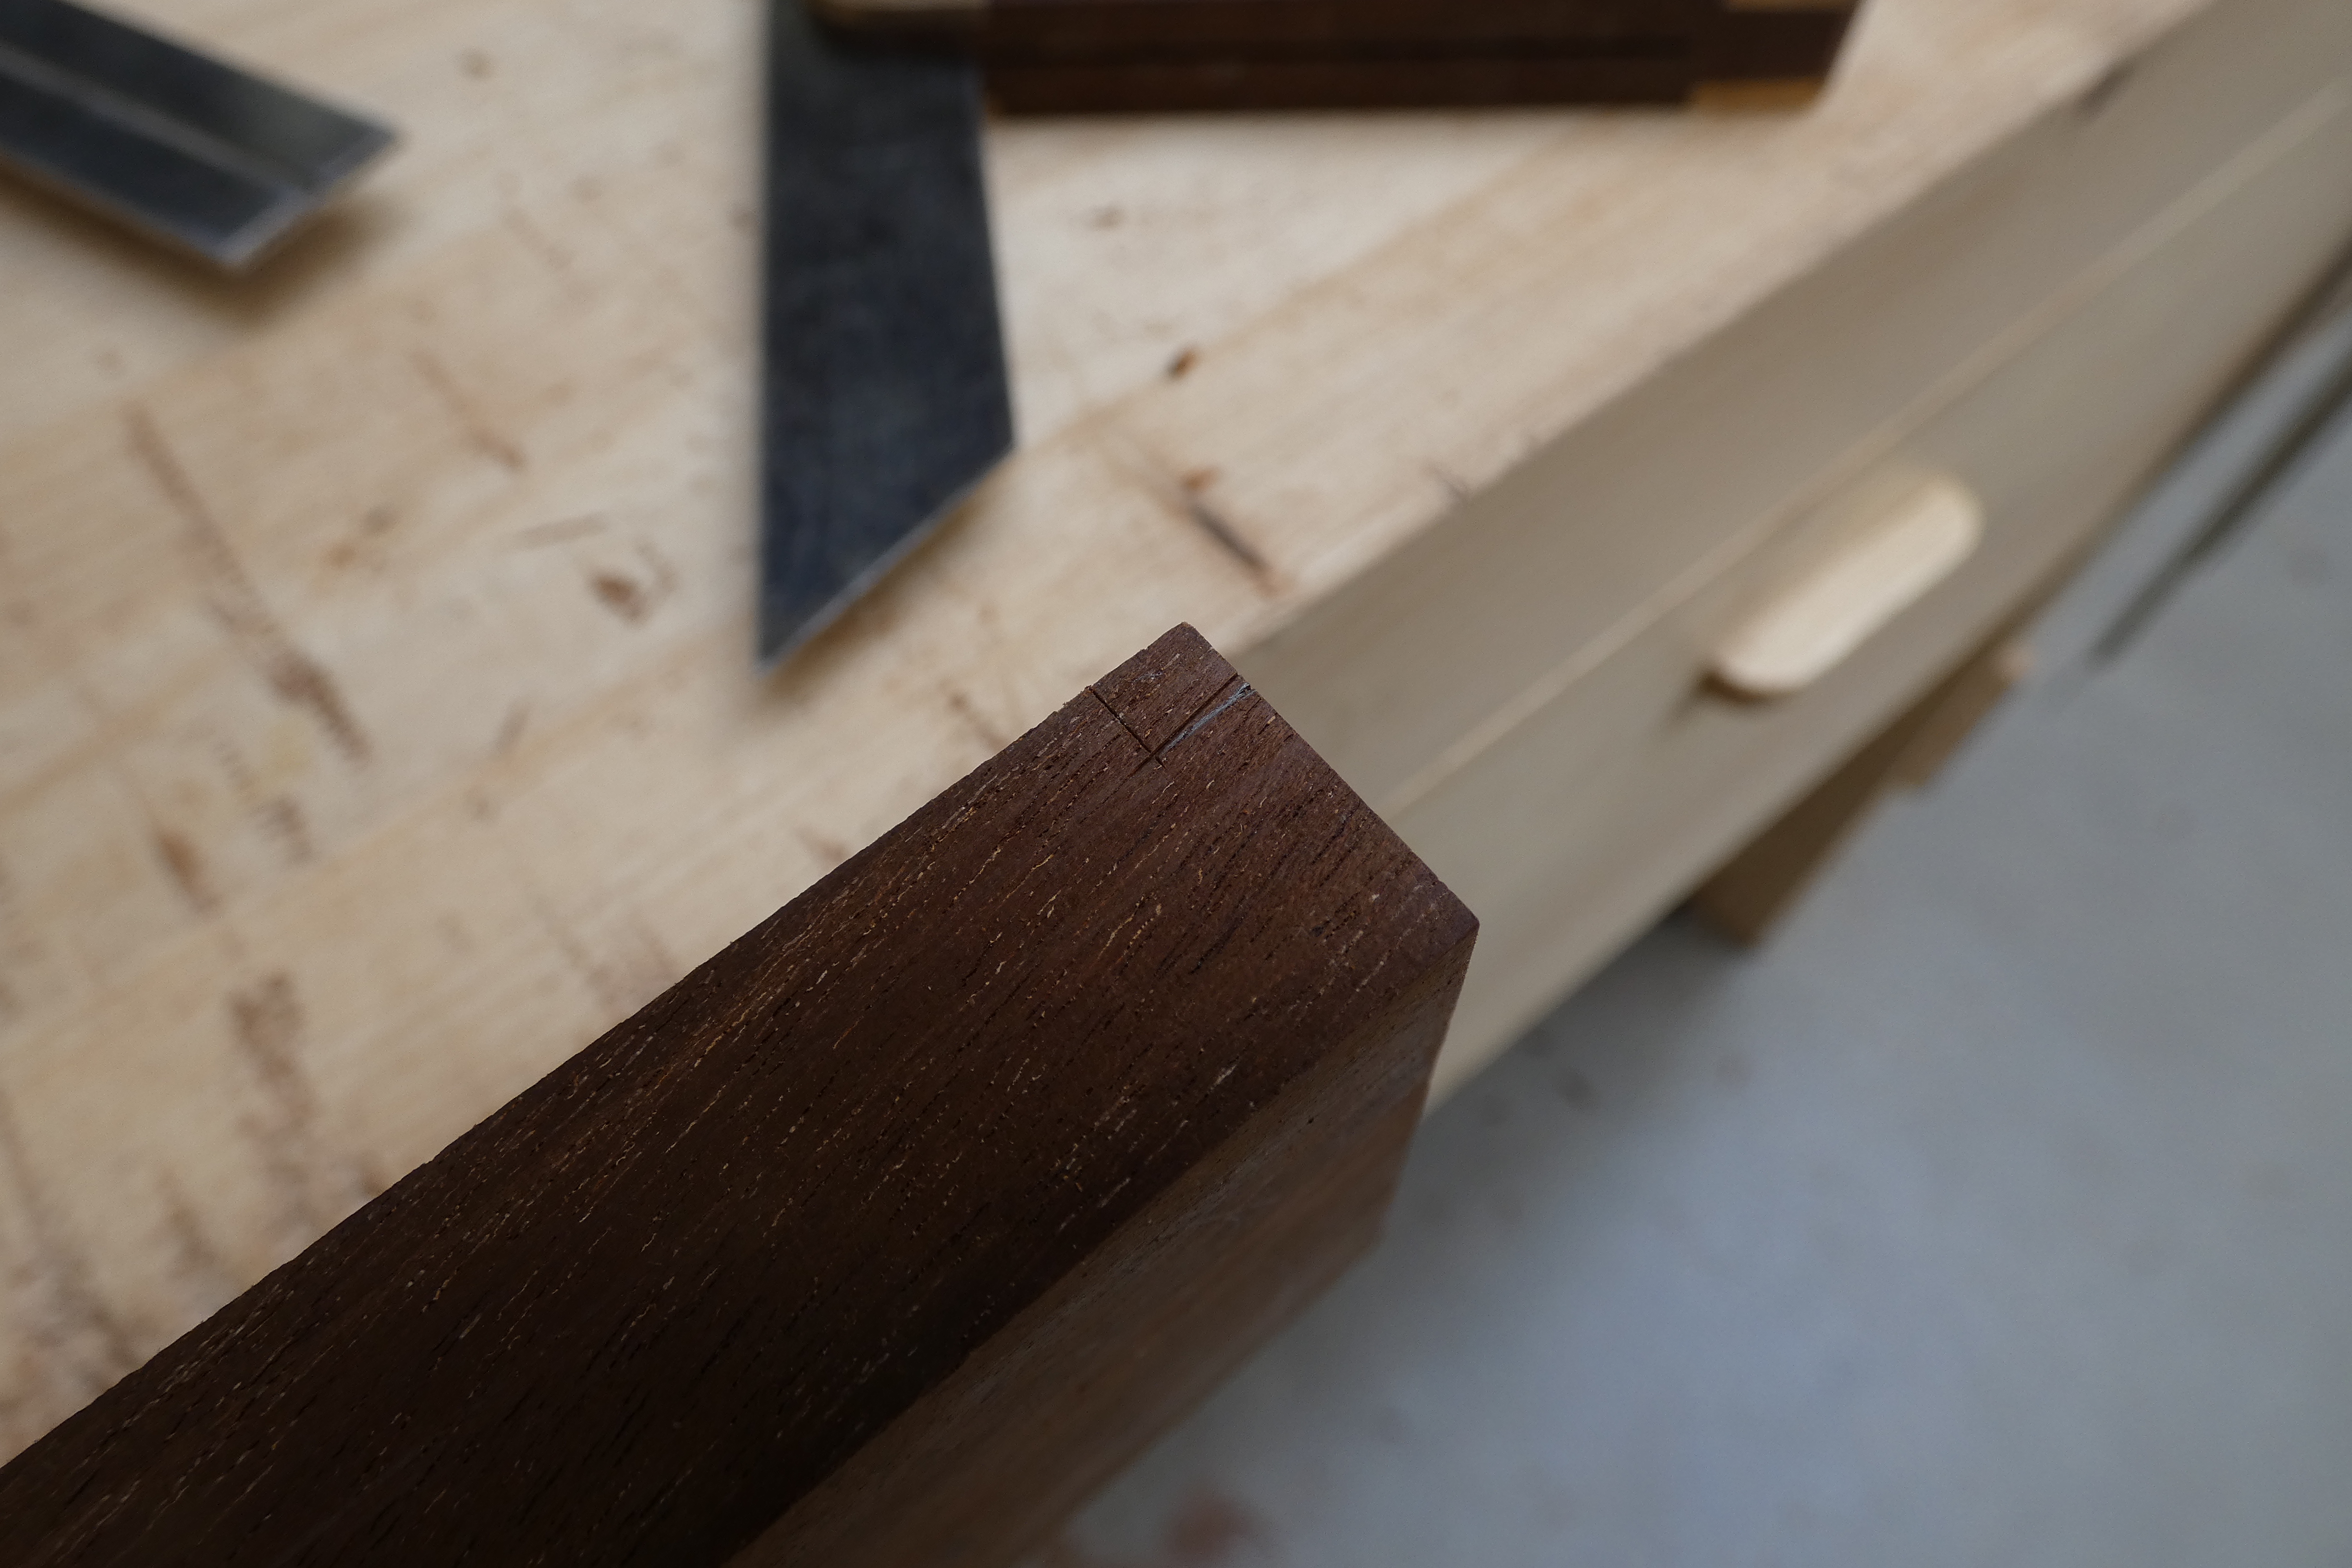
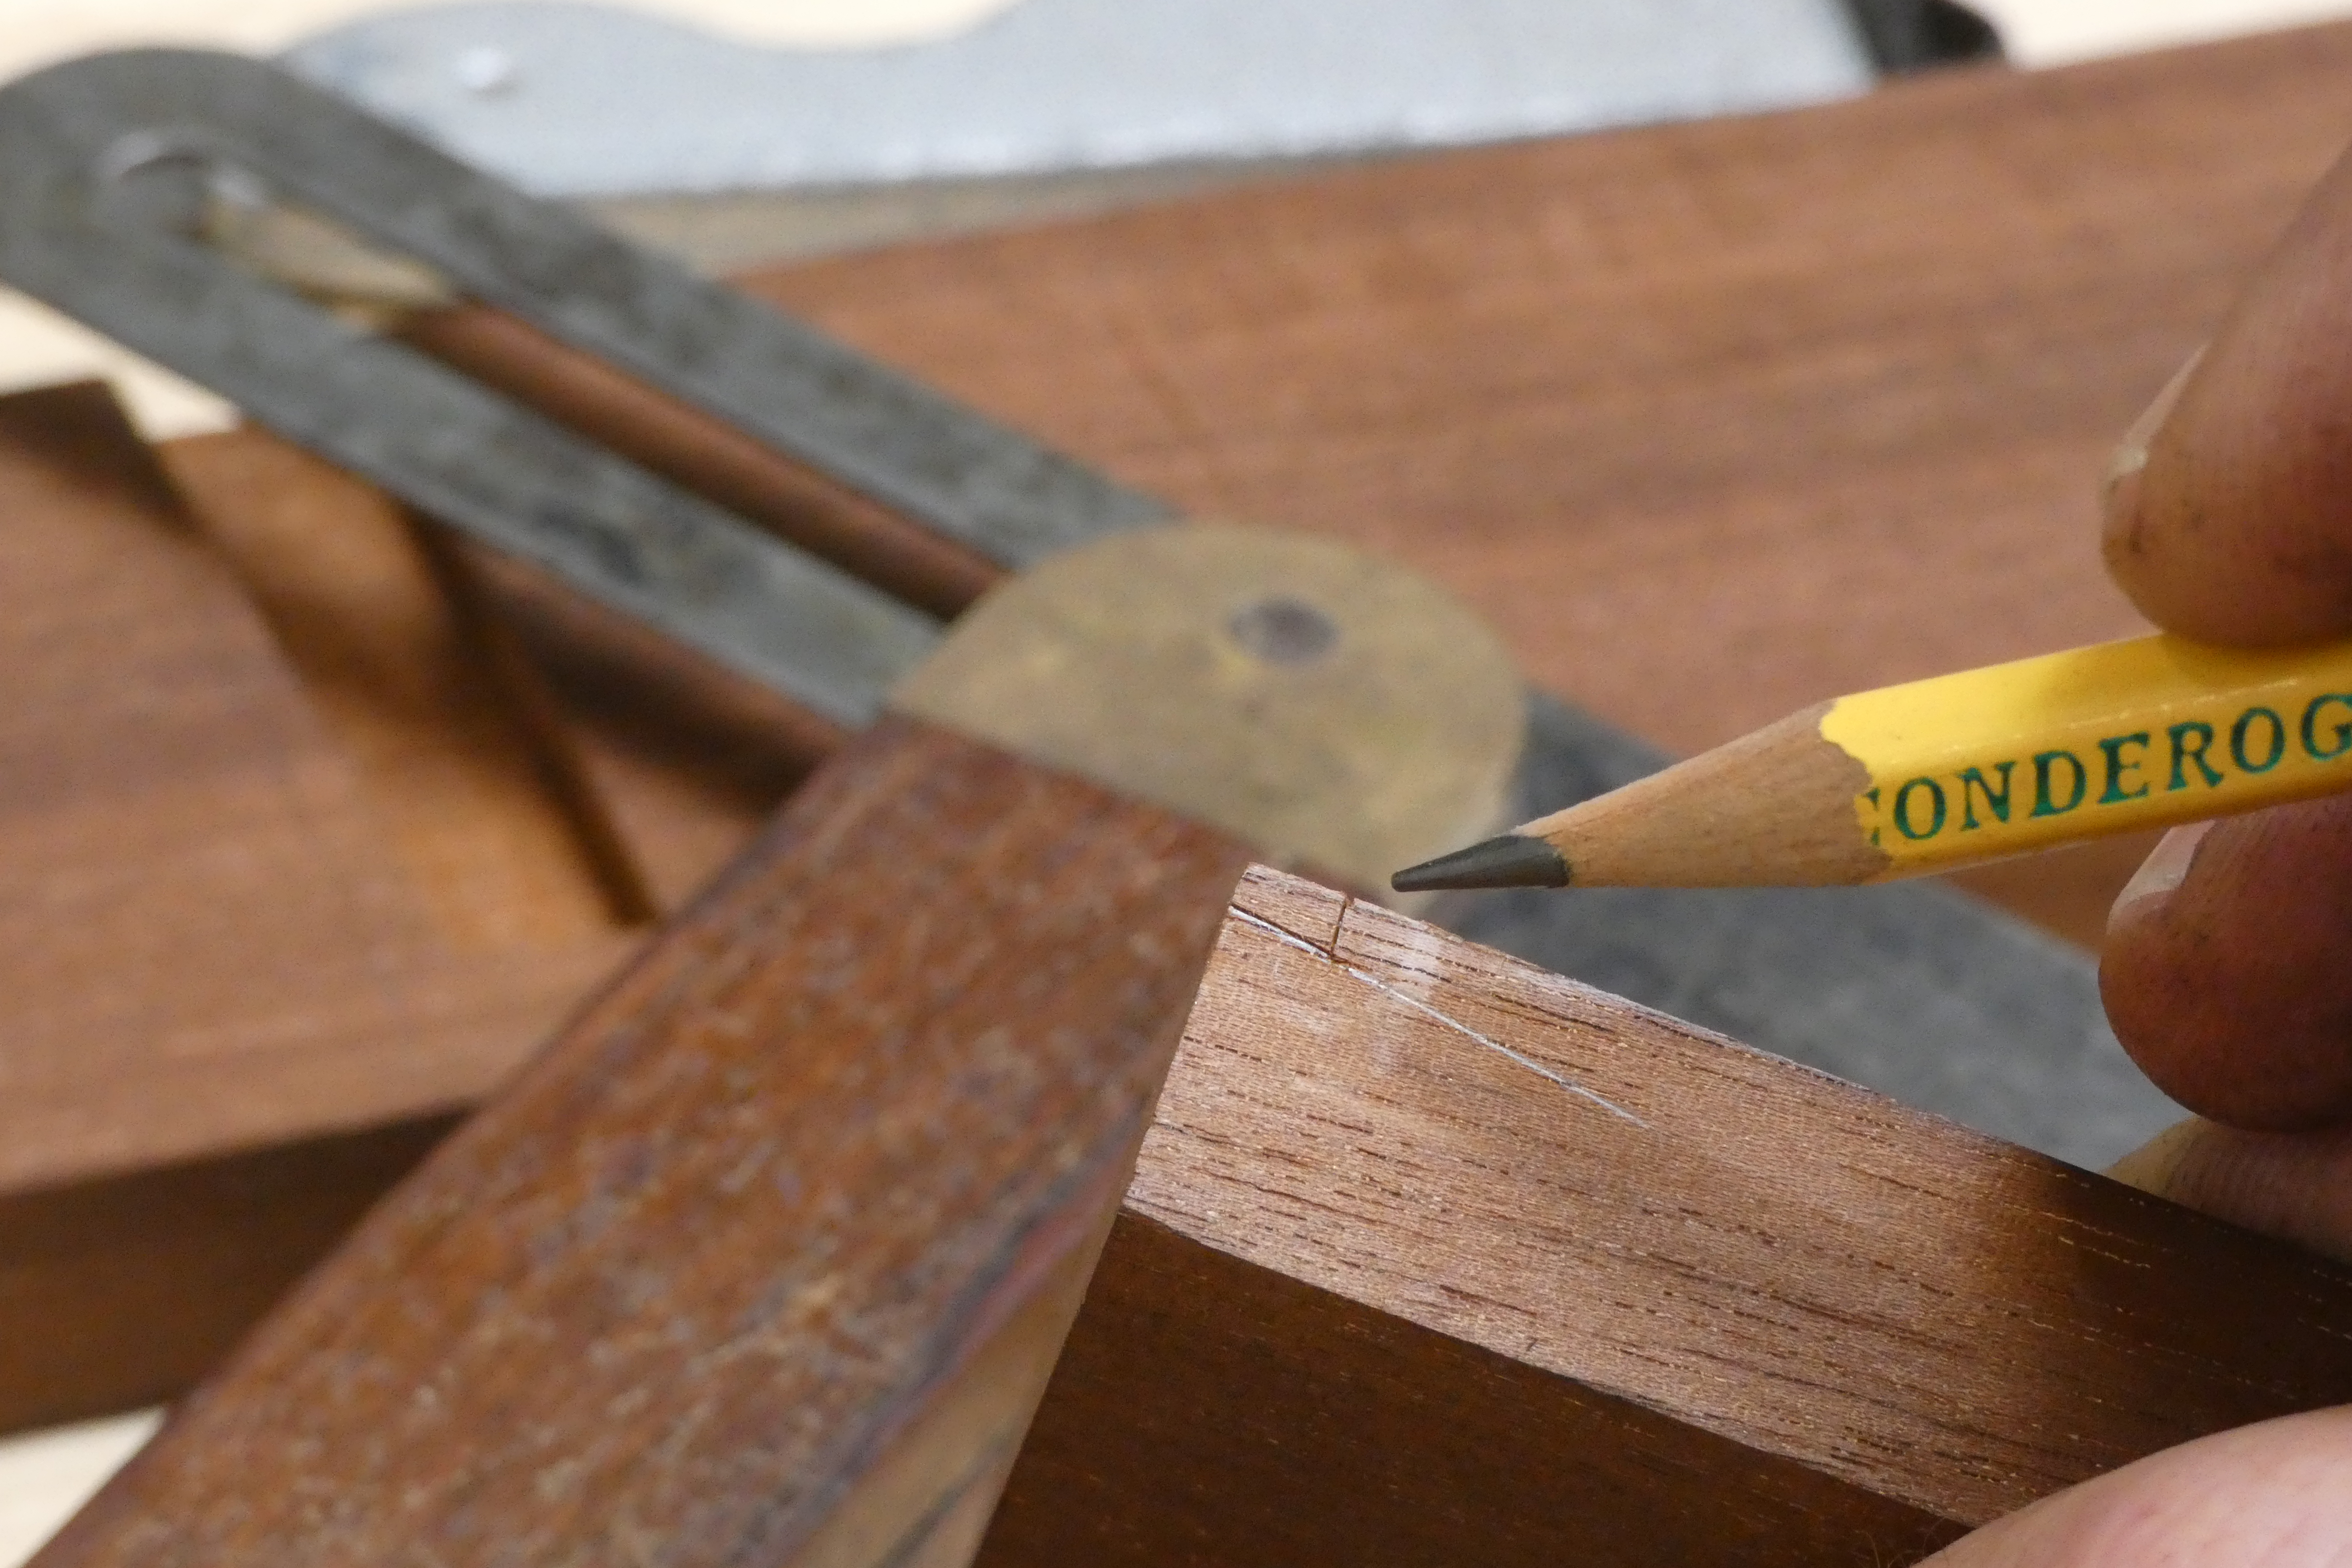
Make sure the end of the housed piece is planed square at the beginning. This is far more important on the single sided version of the joint than the two sided version, but even more critical is the distance from the end to the shoulder. For this reason, to achieve a perfect fit, it is a good practice to mark the shoulder using the router as a marking (cutting) gauge still set to the exact depth you levelled the recess with.
For the width (at the front and the back), take the measurements from the recess itself, but you must then transpose those marks down to the shoulder, since they correspond to the top of the recess, which is narrower than the bottom. Otherwise, you would end up with an undersized joint.
Regarding the exact taper and the dovetail angle, don’t spend too much time on it because, as much as you should strive for accuracy, you must always cut the sliding dovetail oversized. The mere thought of getting it straight off the saw is absurd; that is if you really want a good, tight joint. You will always have to cut a little fat so you can pare down gradually as the sliding dovetail progresses further in the recess. The only marking that is absolute and you can pare with confidence is the shoulder.
Considerations for fitting the joint
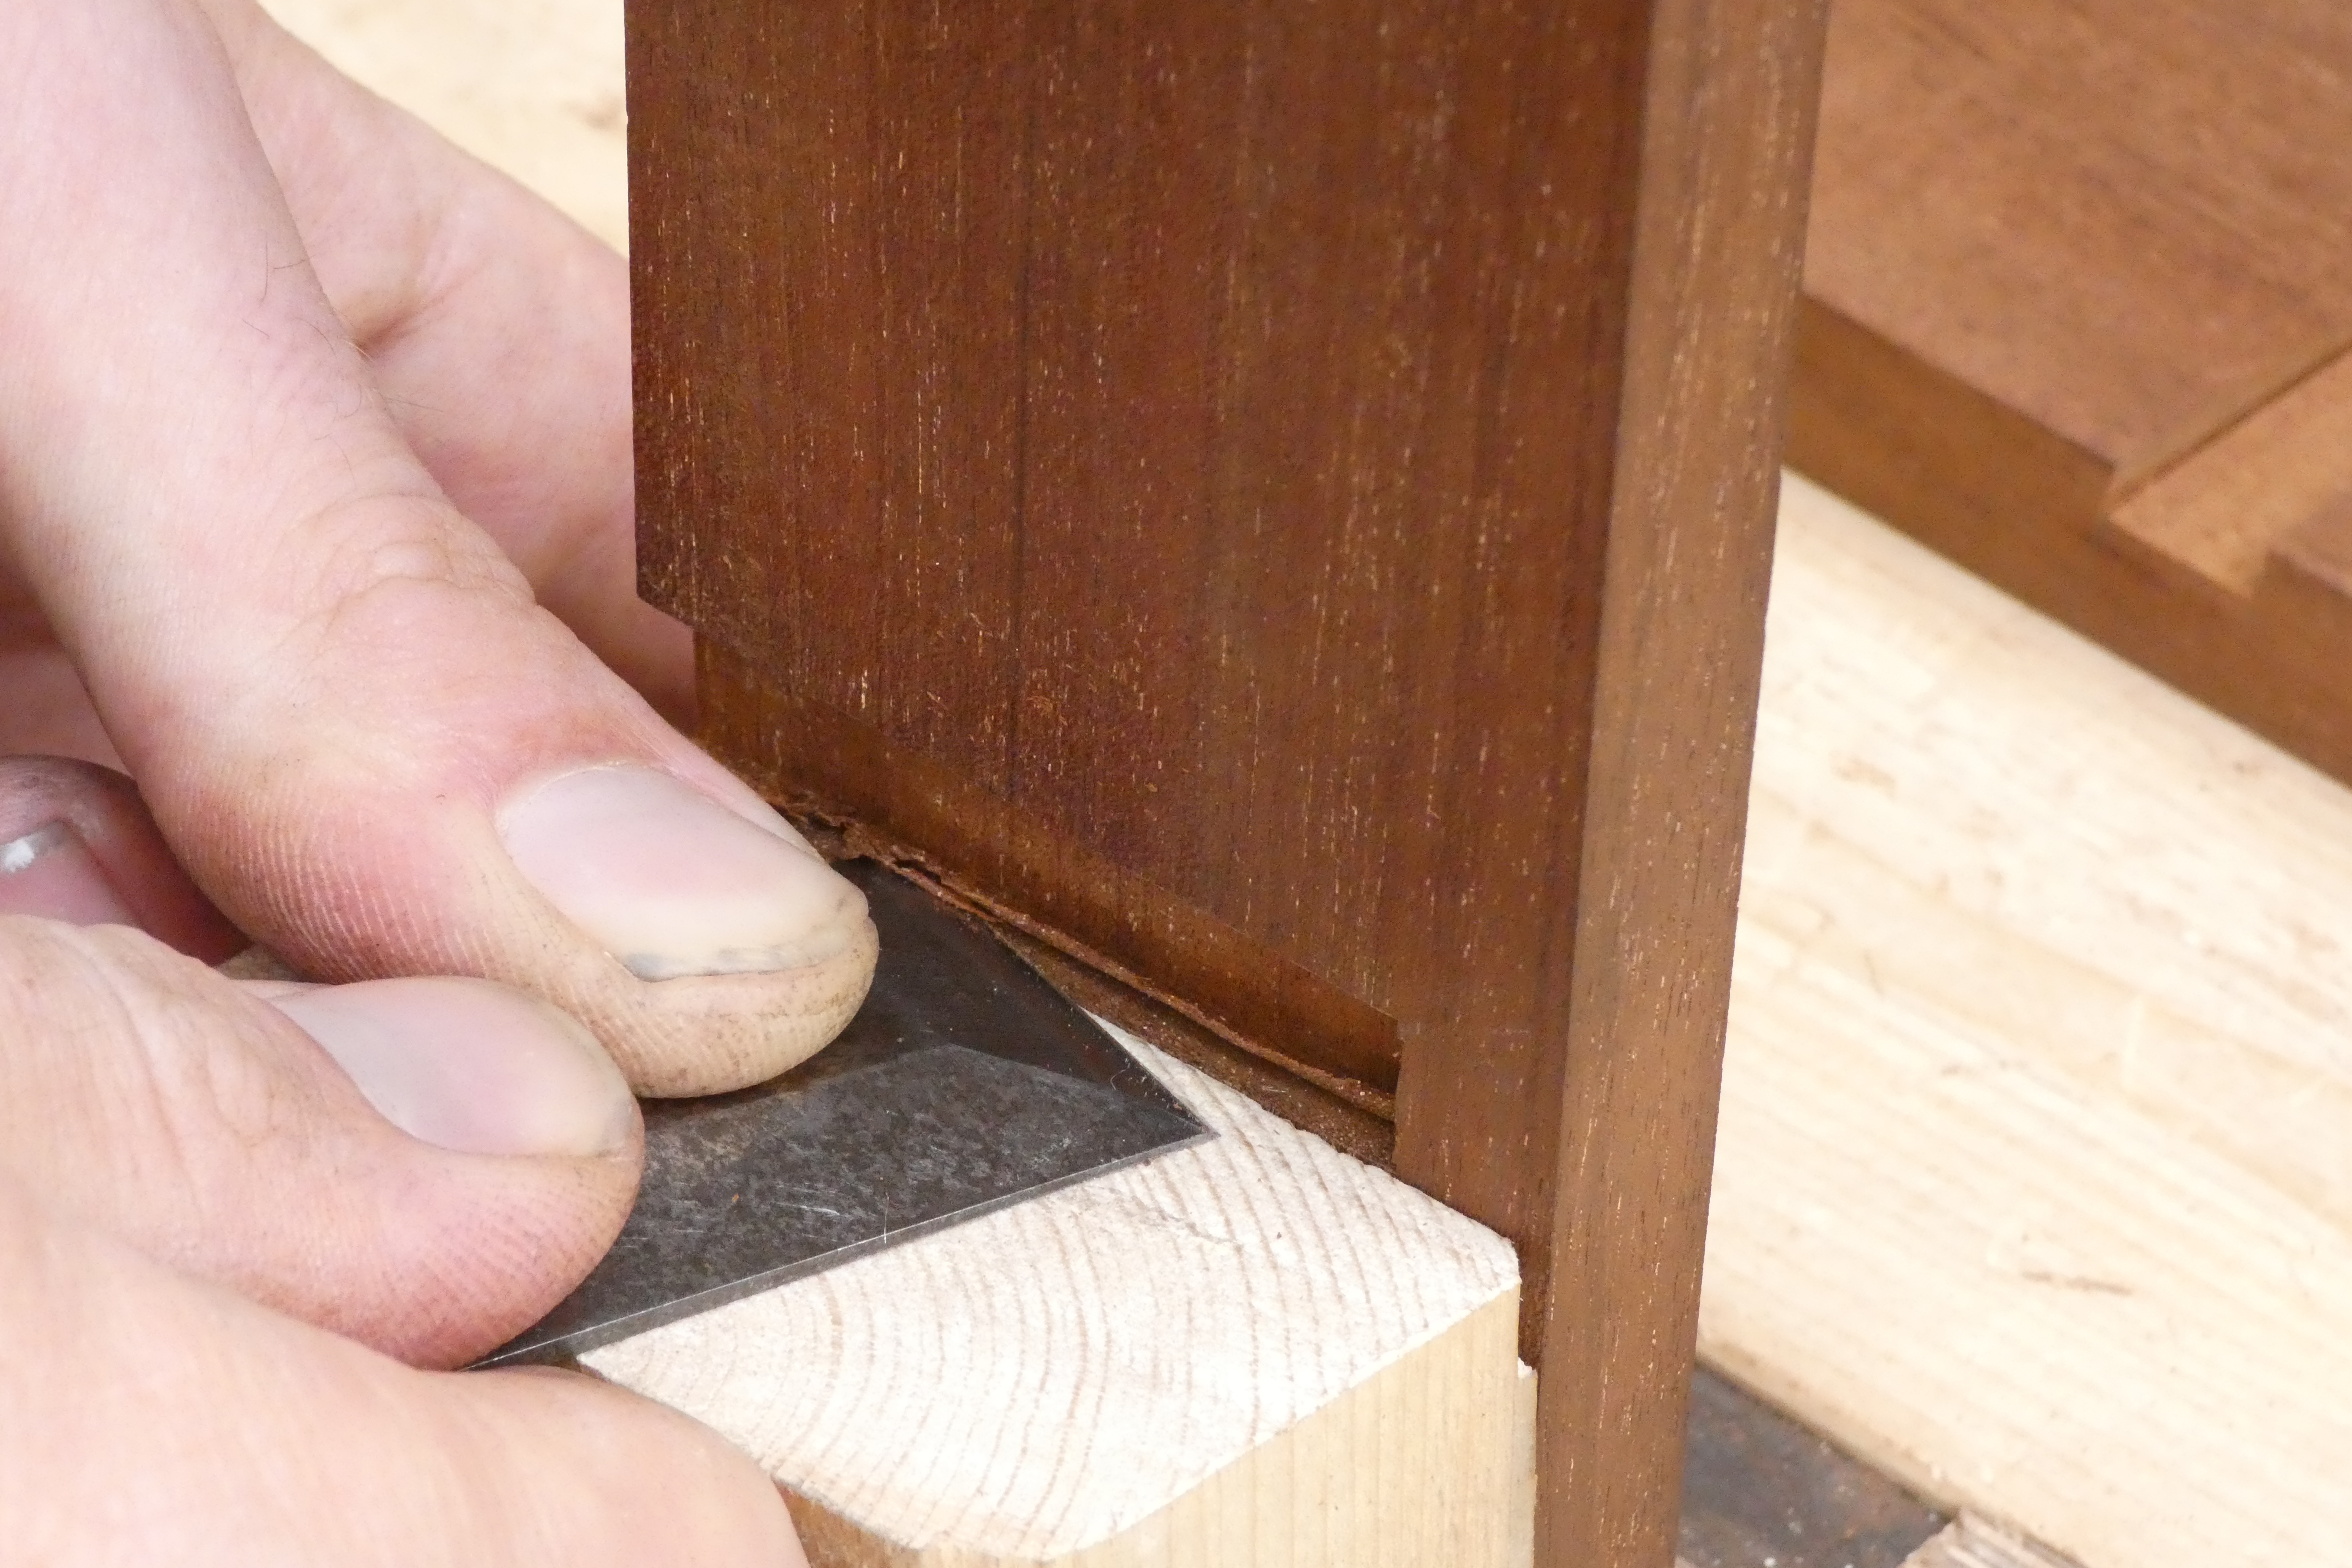
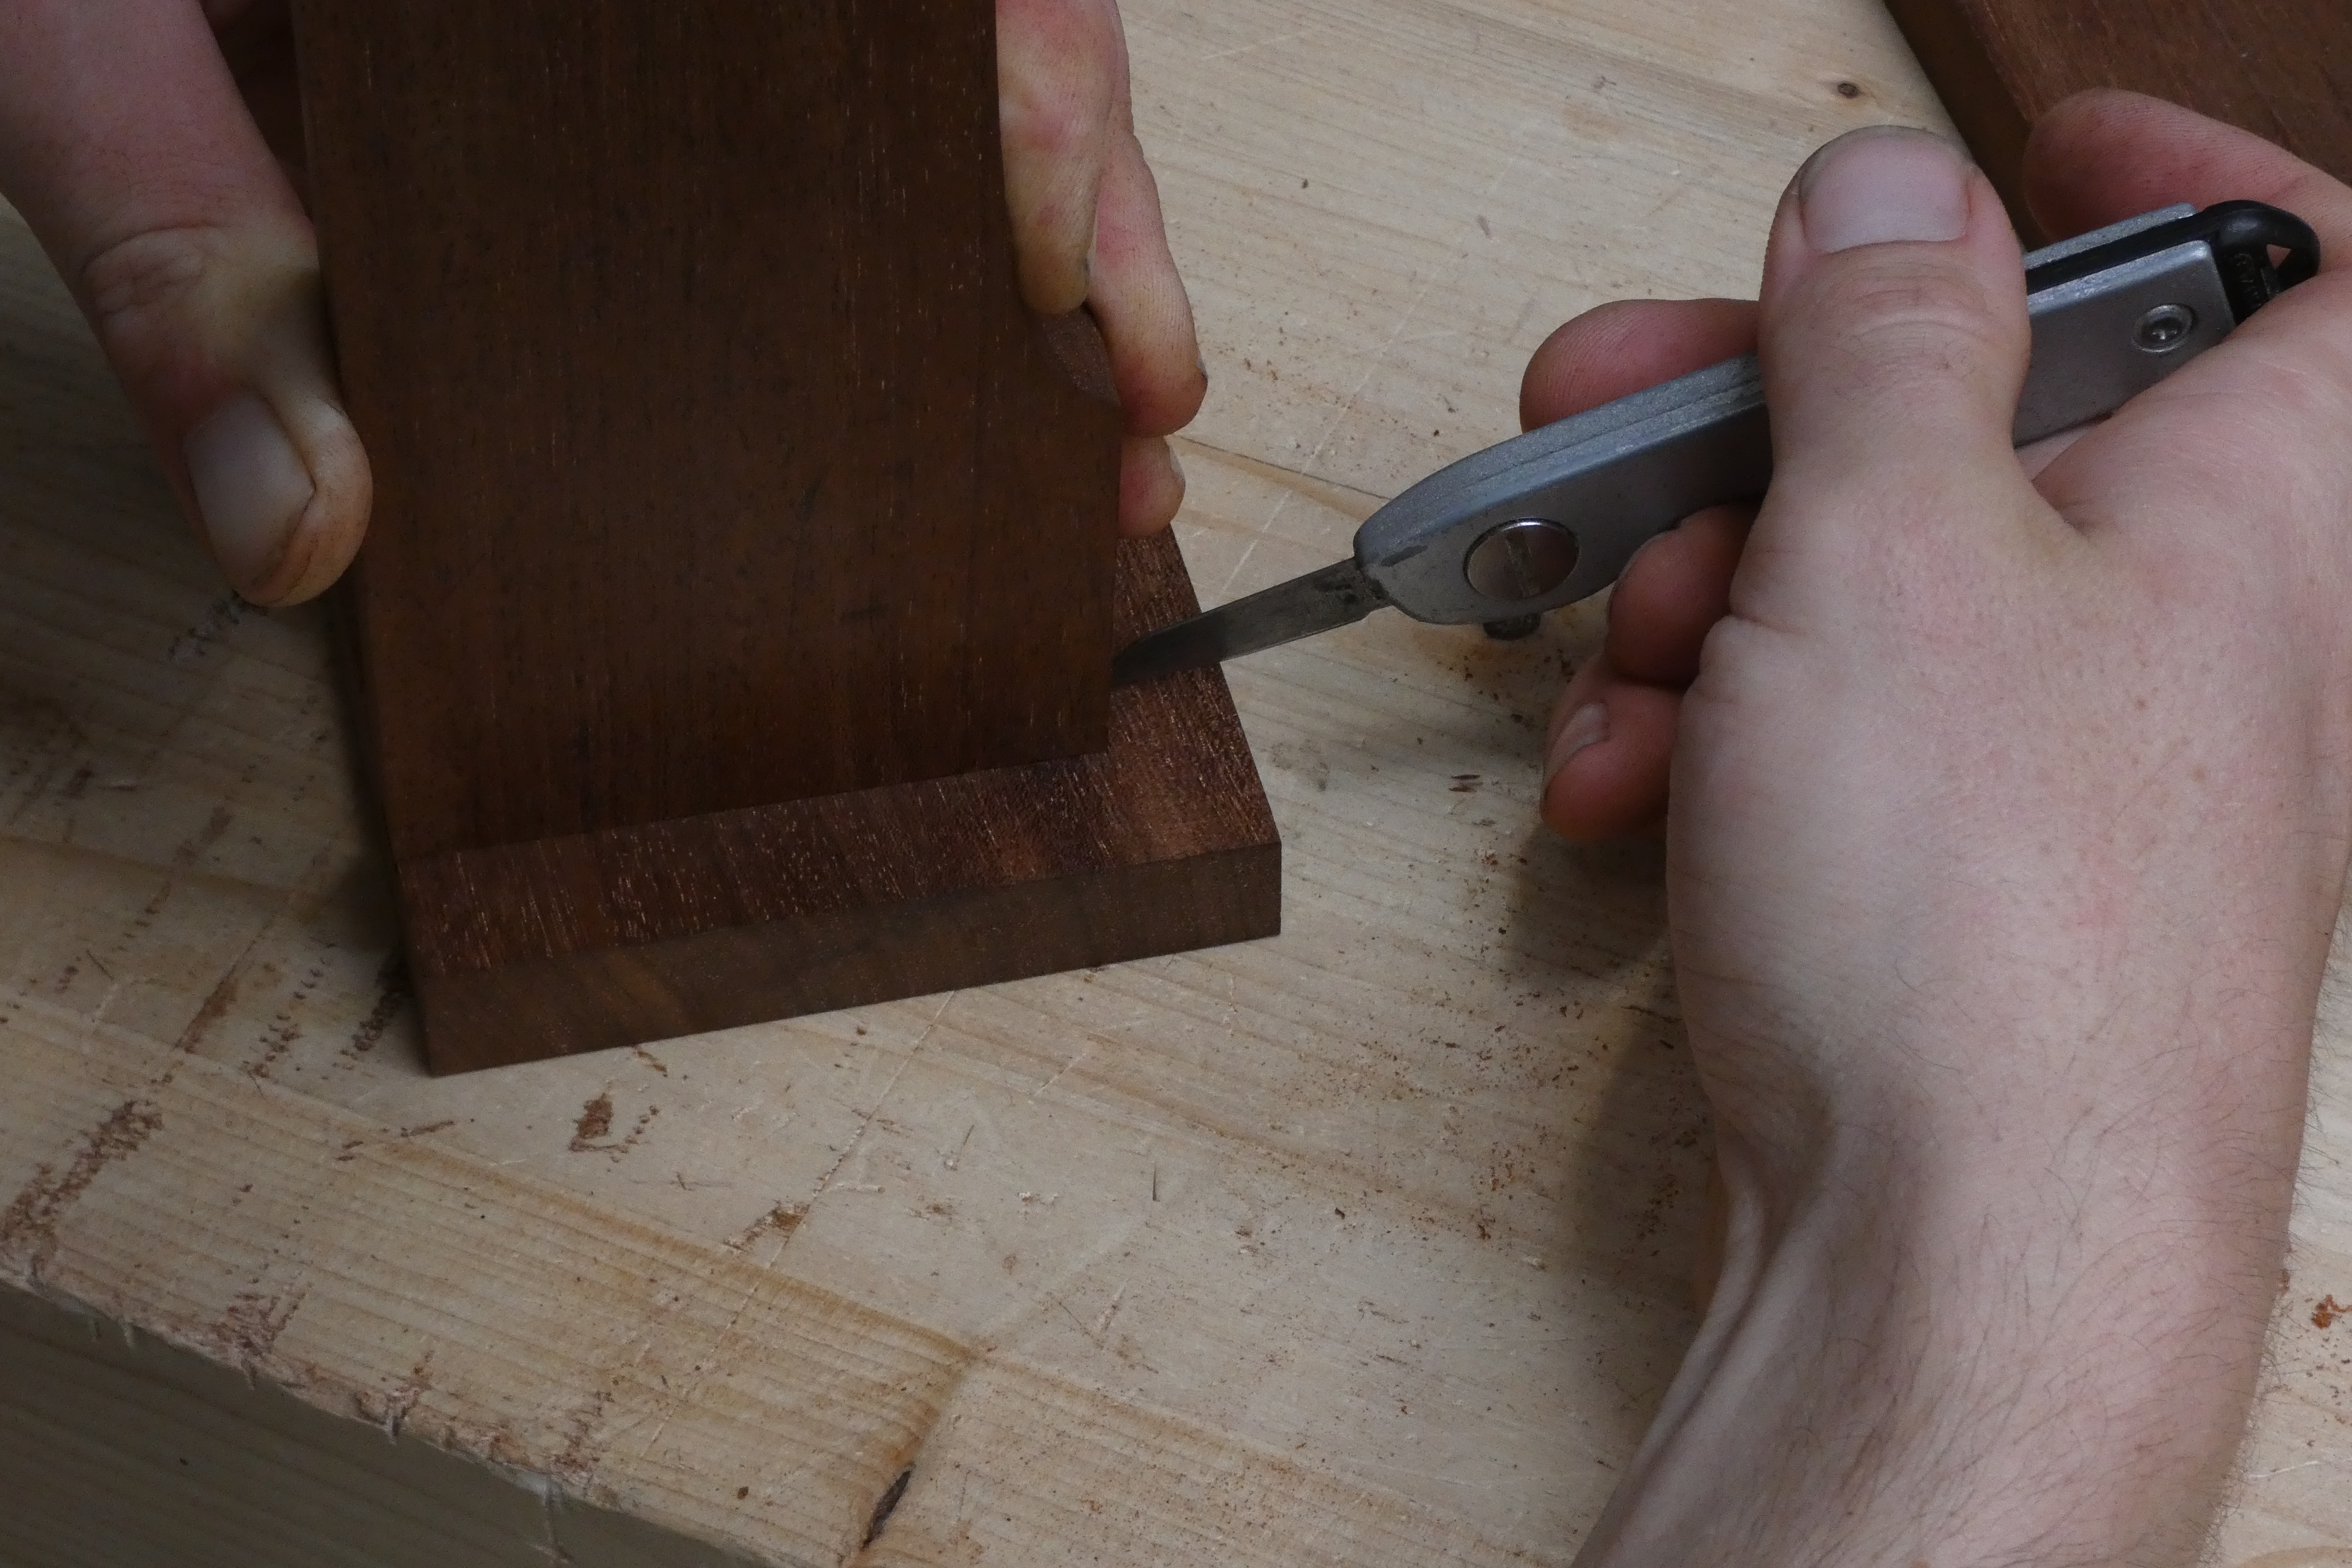
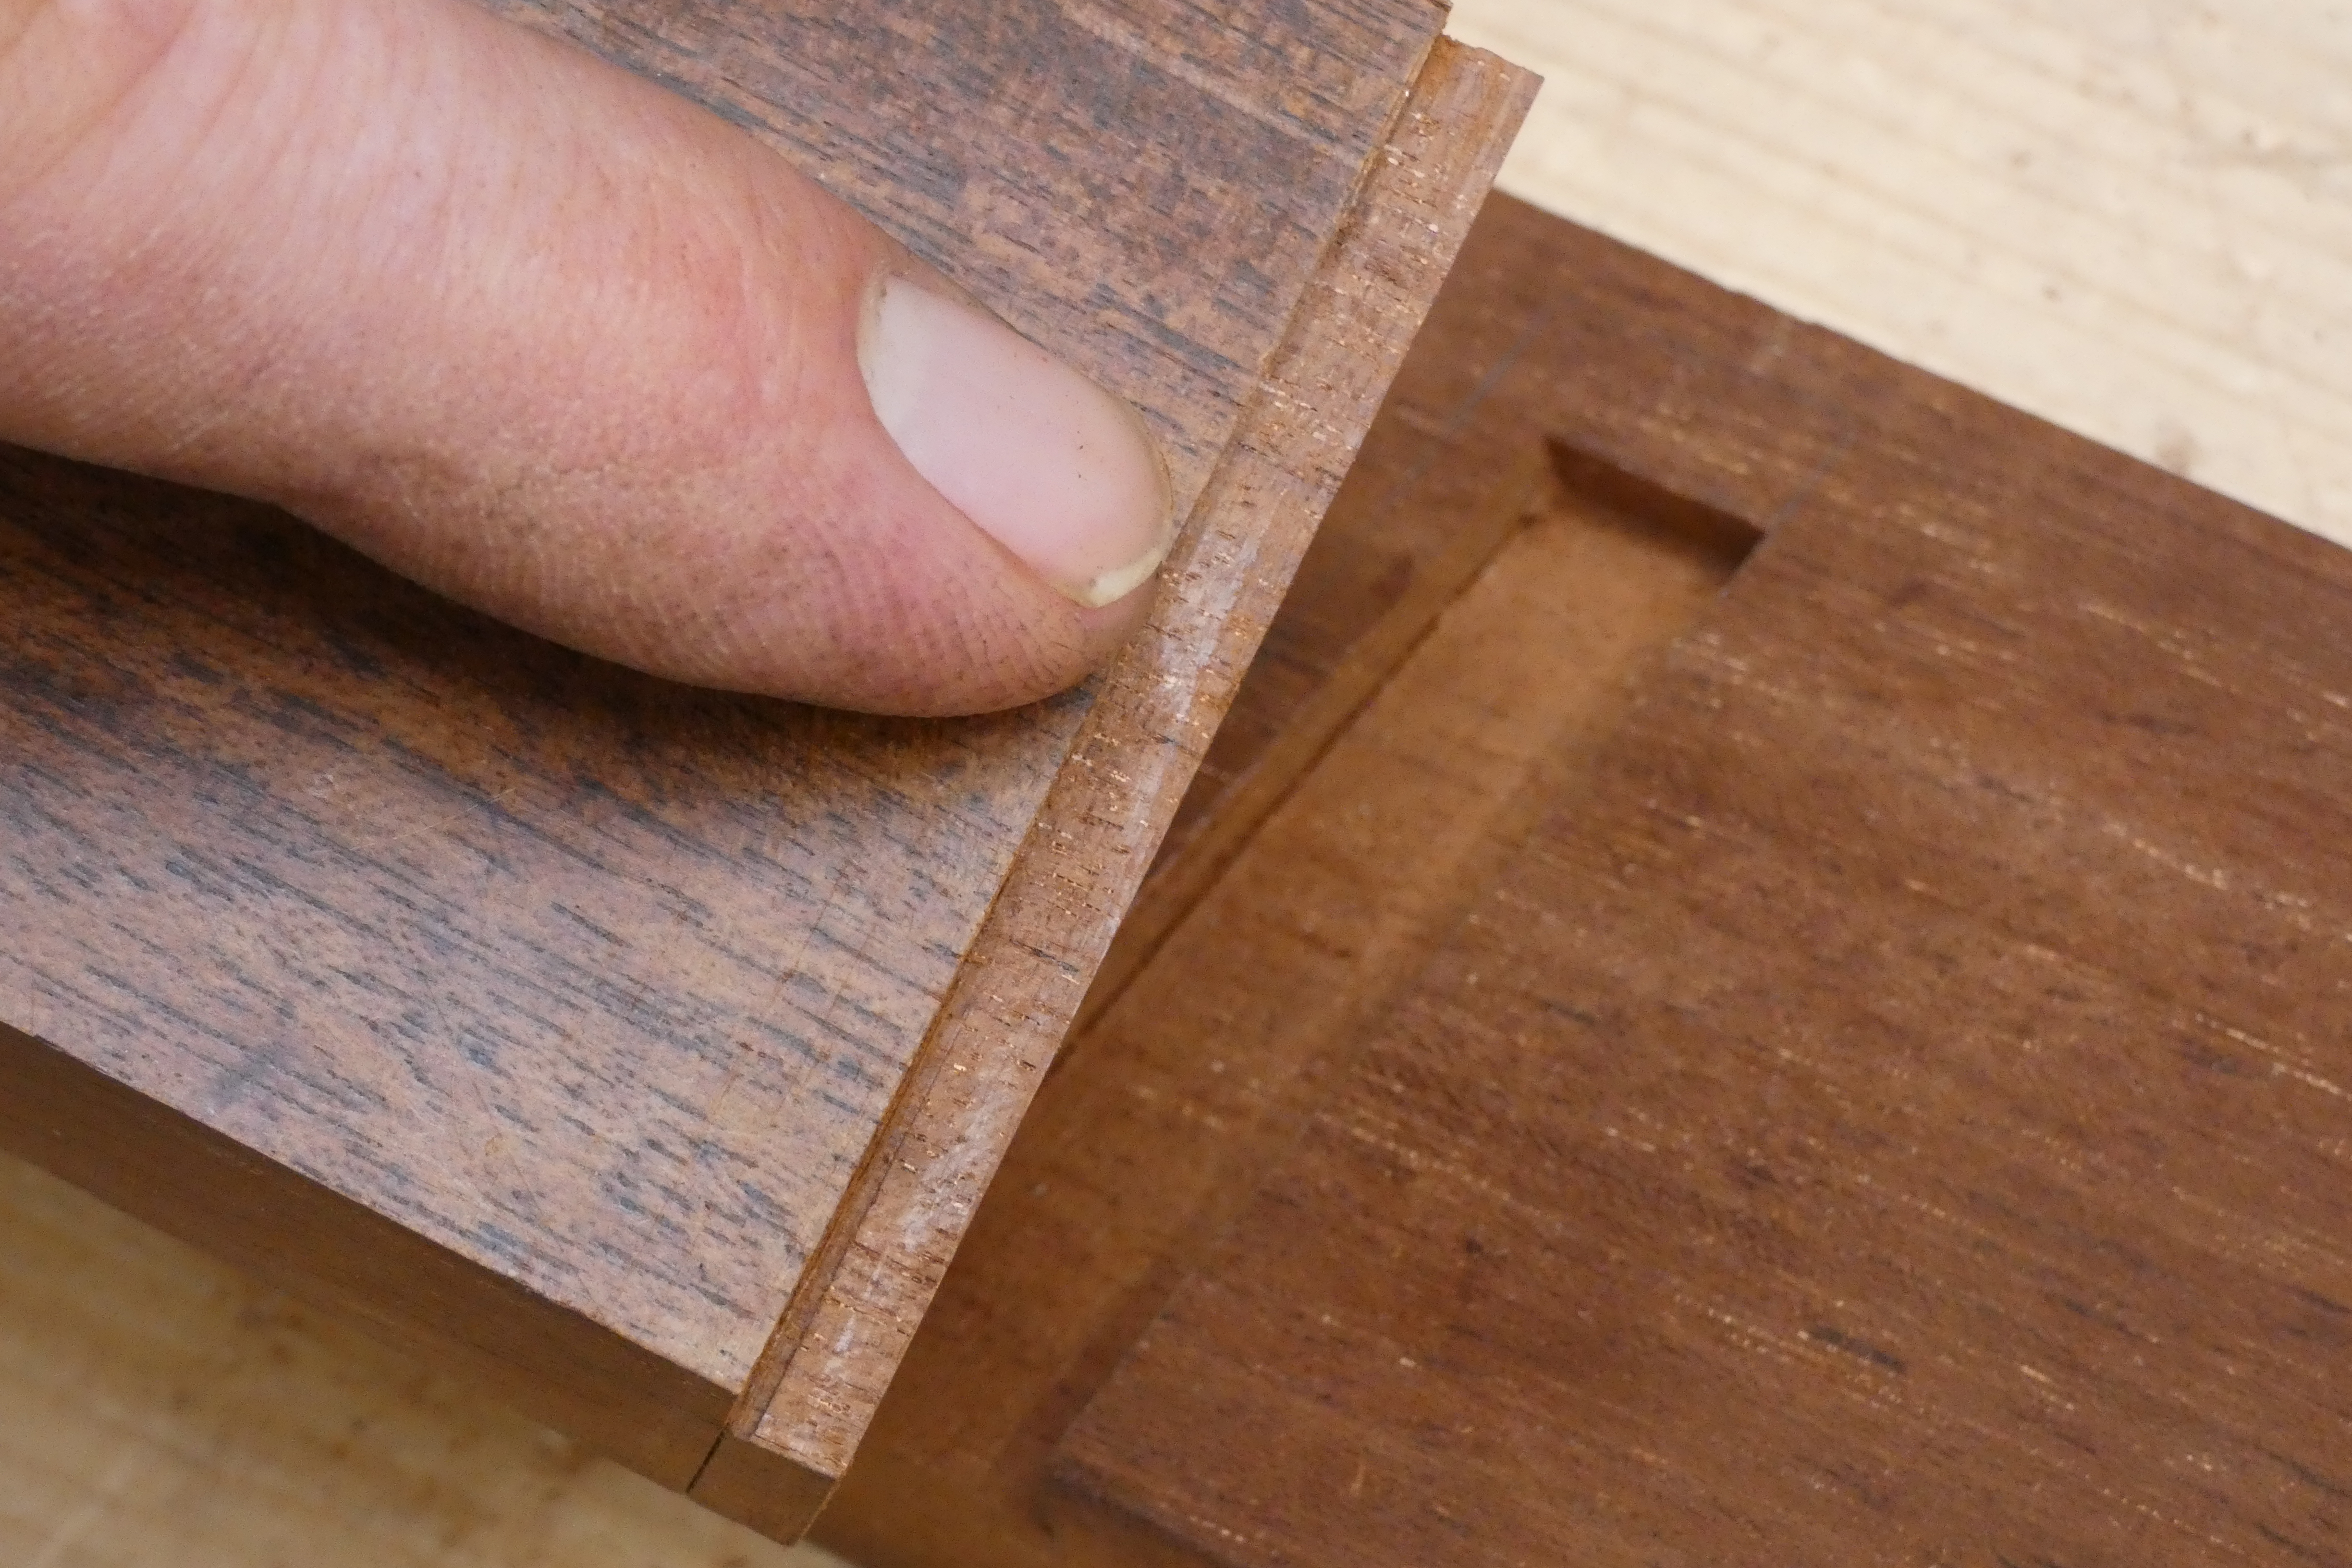
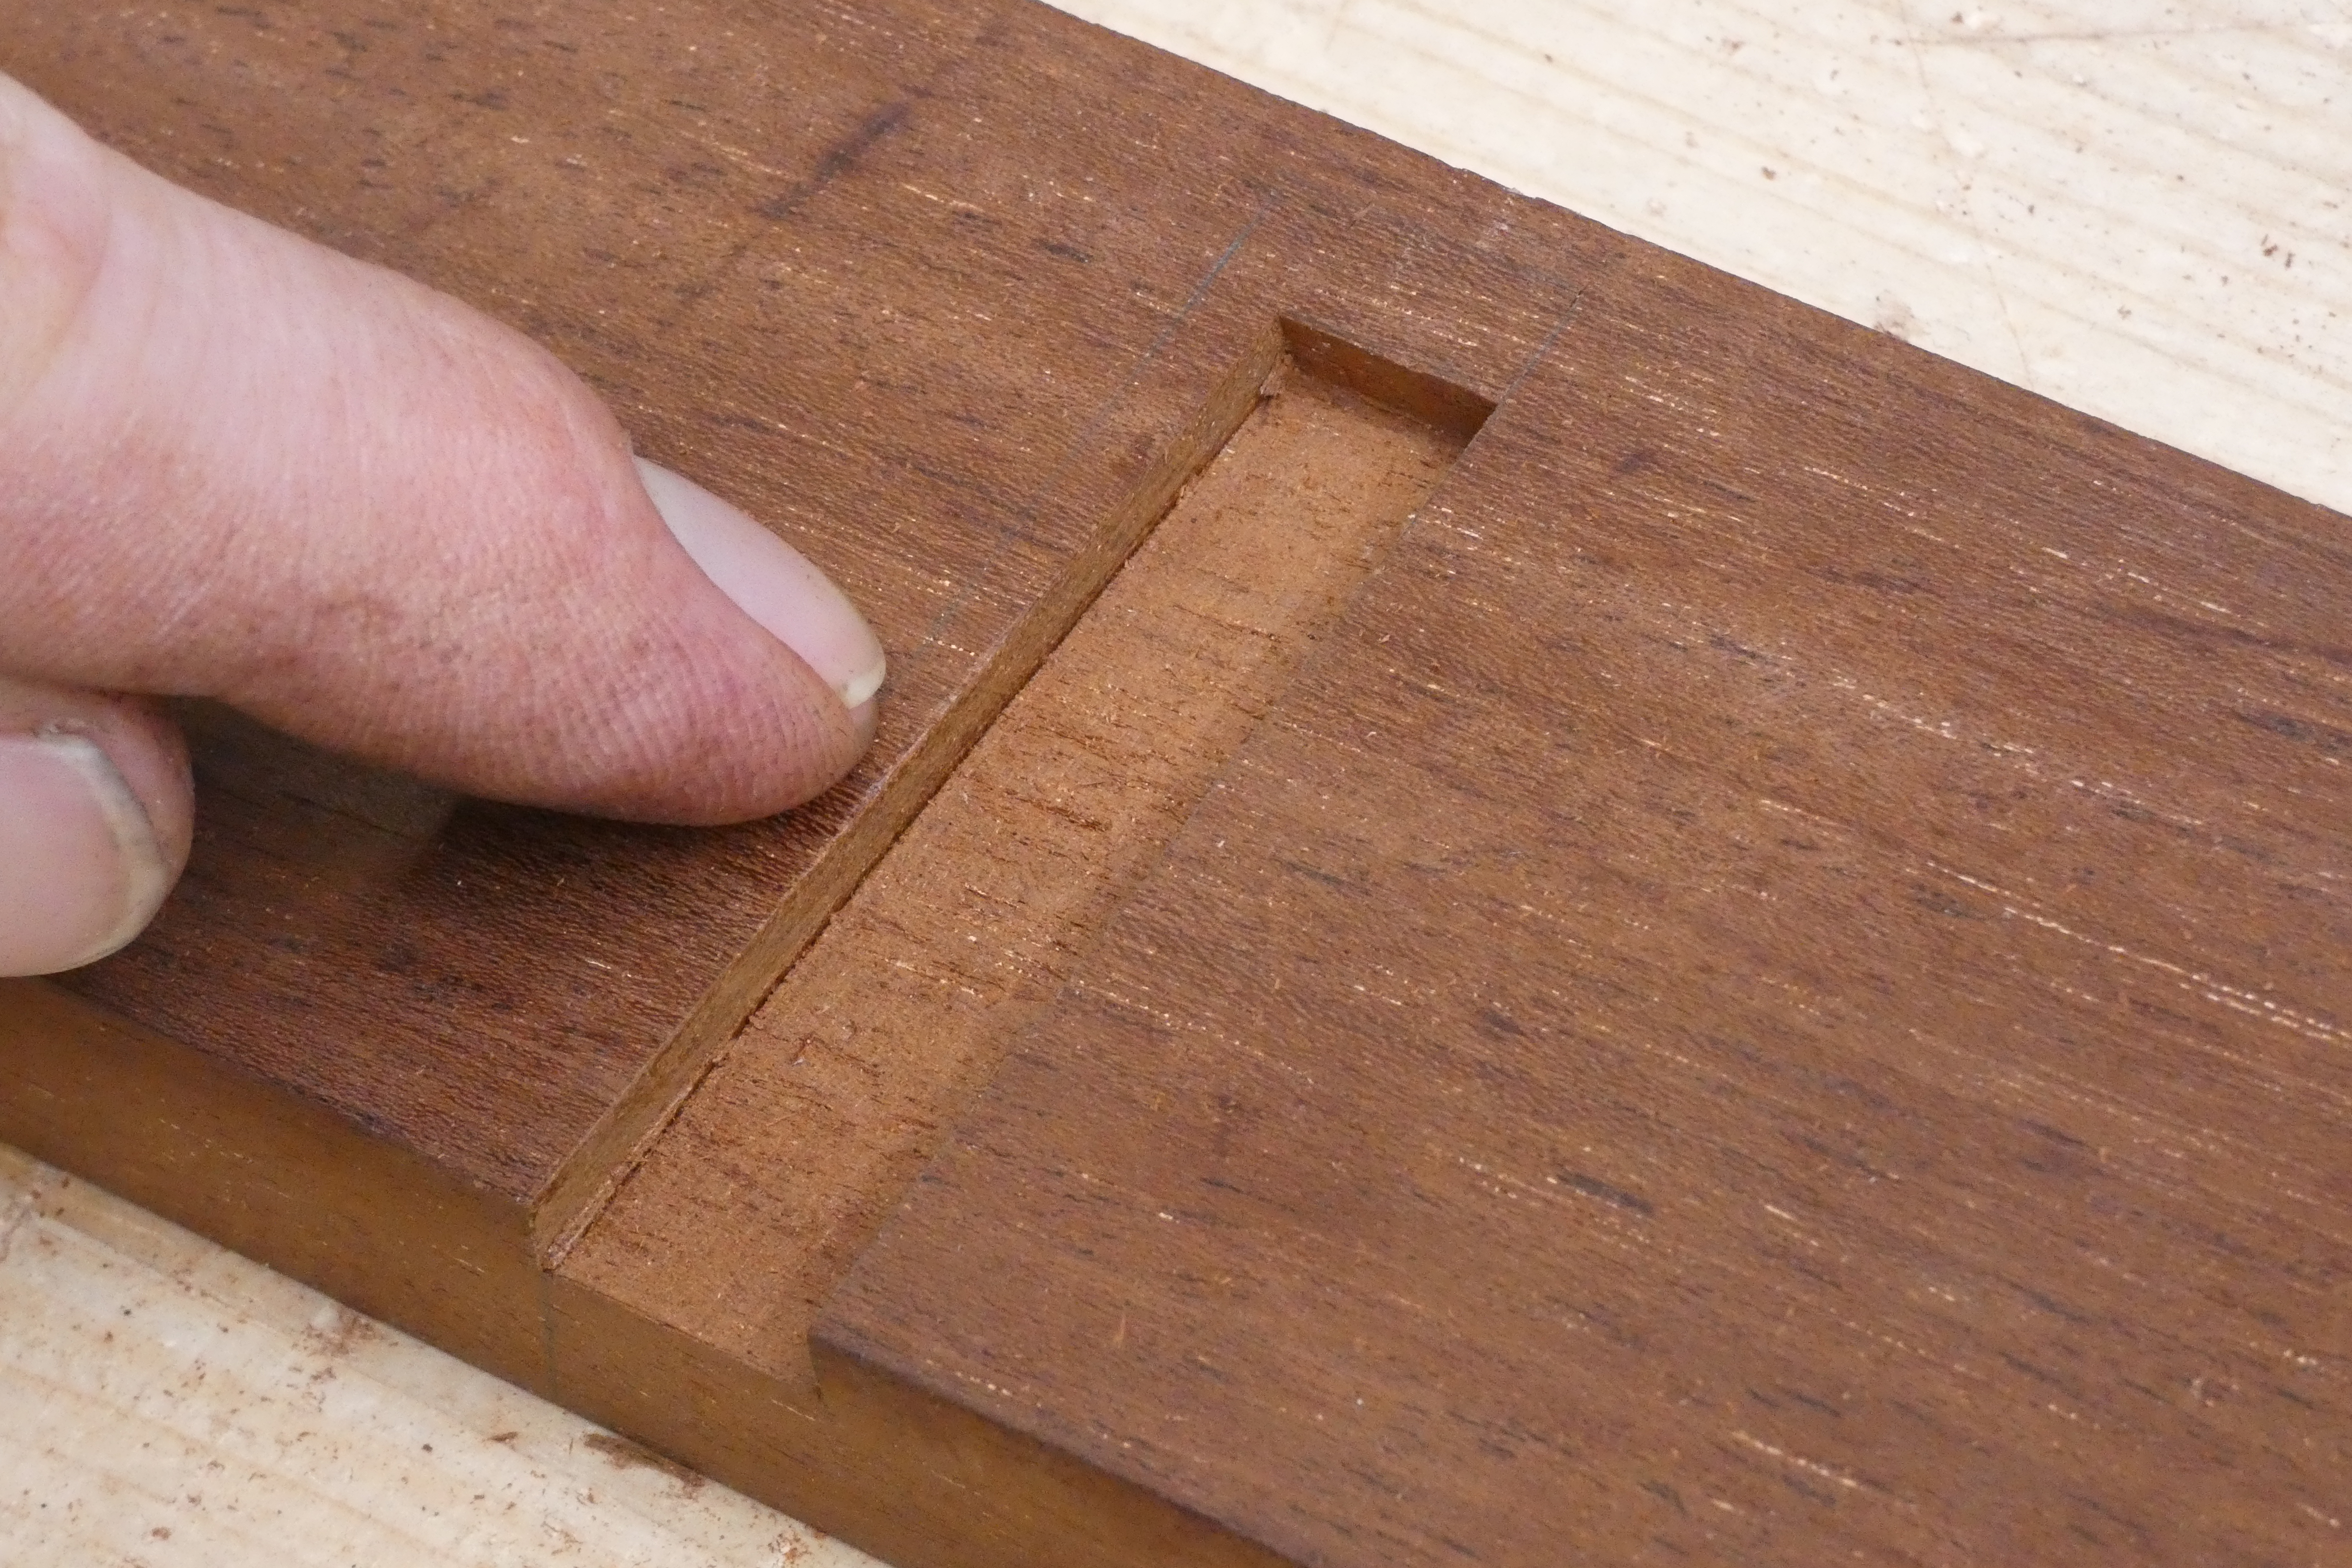
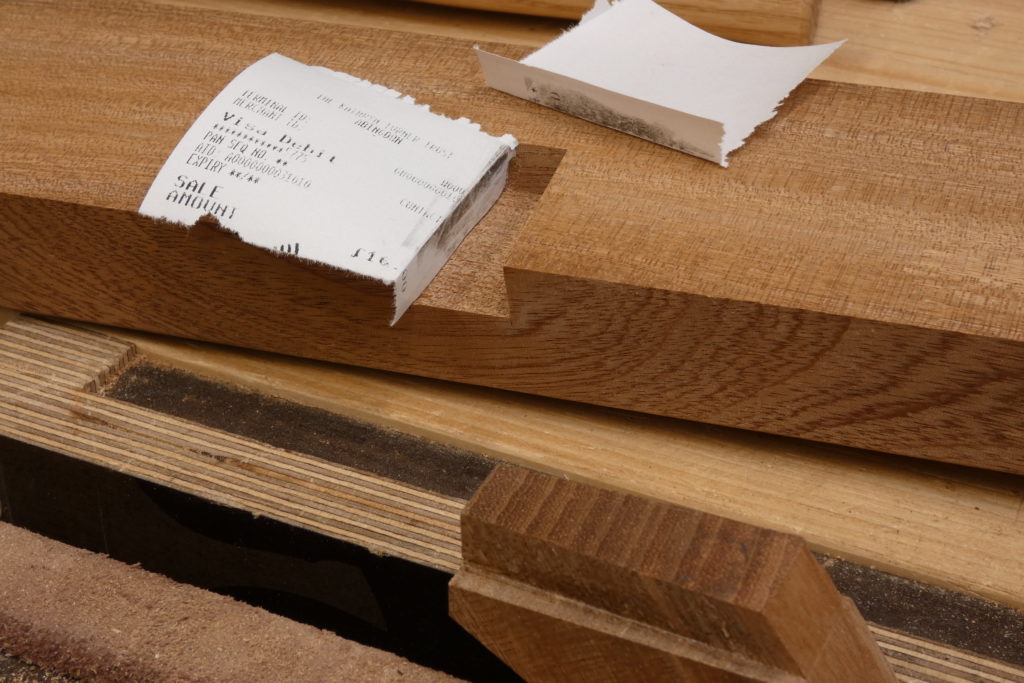
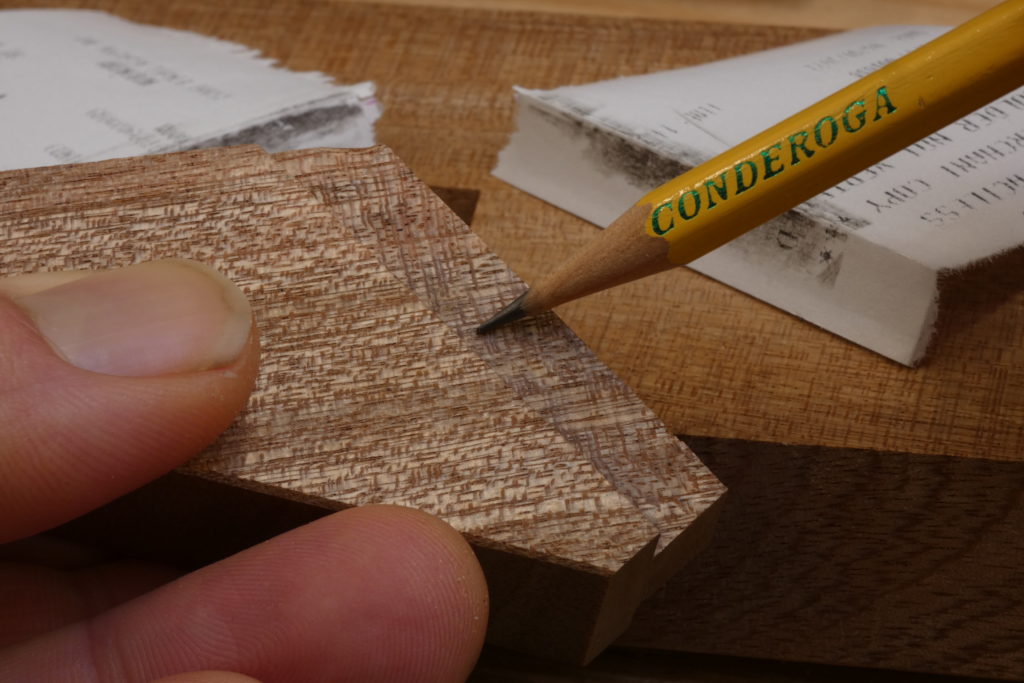
The challenge now is to get the sliding dovetail near to closing up yet still being fairly tight at both ends. In order to get in the ballpark, (aside from sawing approximately to the layout marks and paring the shoulder square,) you can present the sliding dovetail into the recess and apply enough pressure to create some friction marks (bruising) on the internal faces. These will show as shiny areas which indicate high spots that need taking down. This you can do with a sharp chisel as shown below, always removing the waste from the dovetailed side, of course.
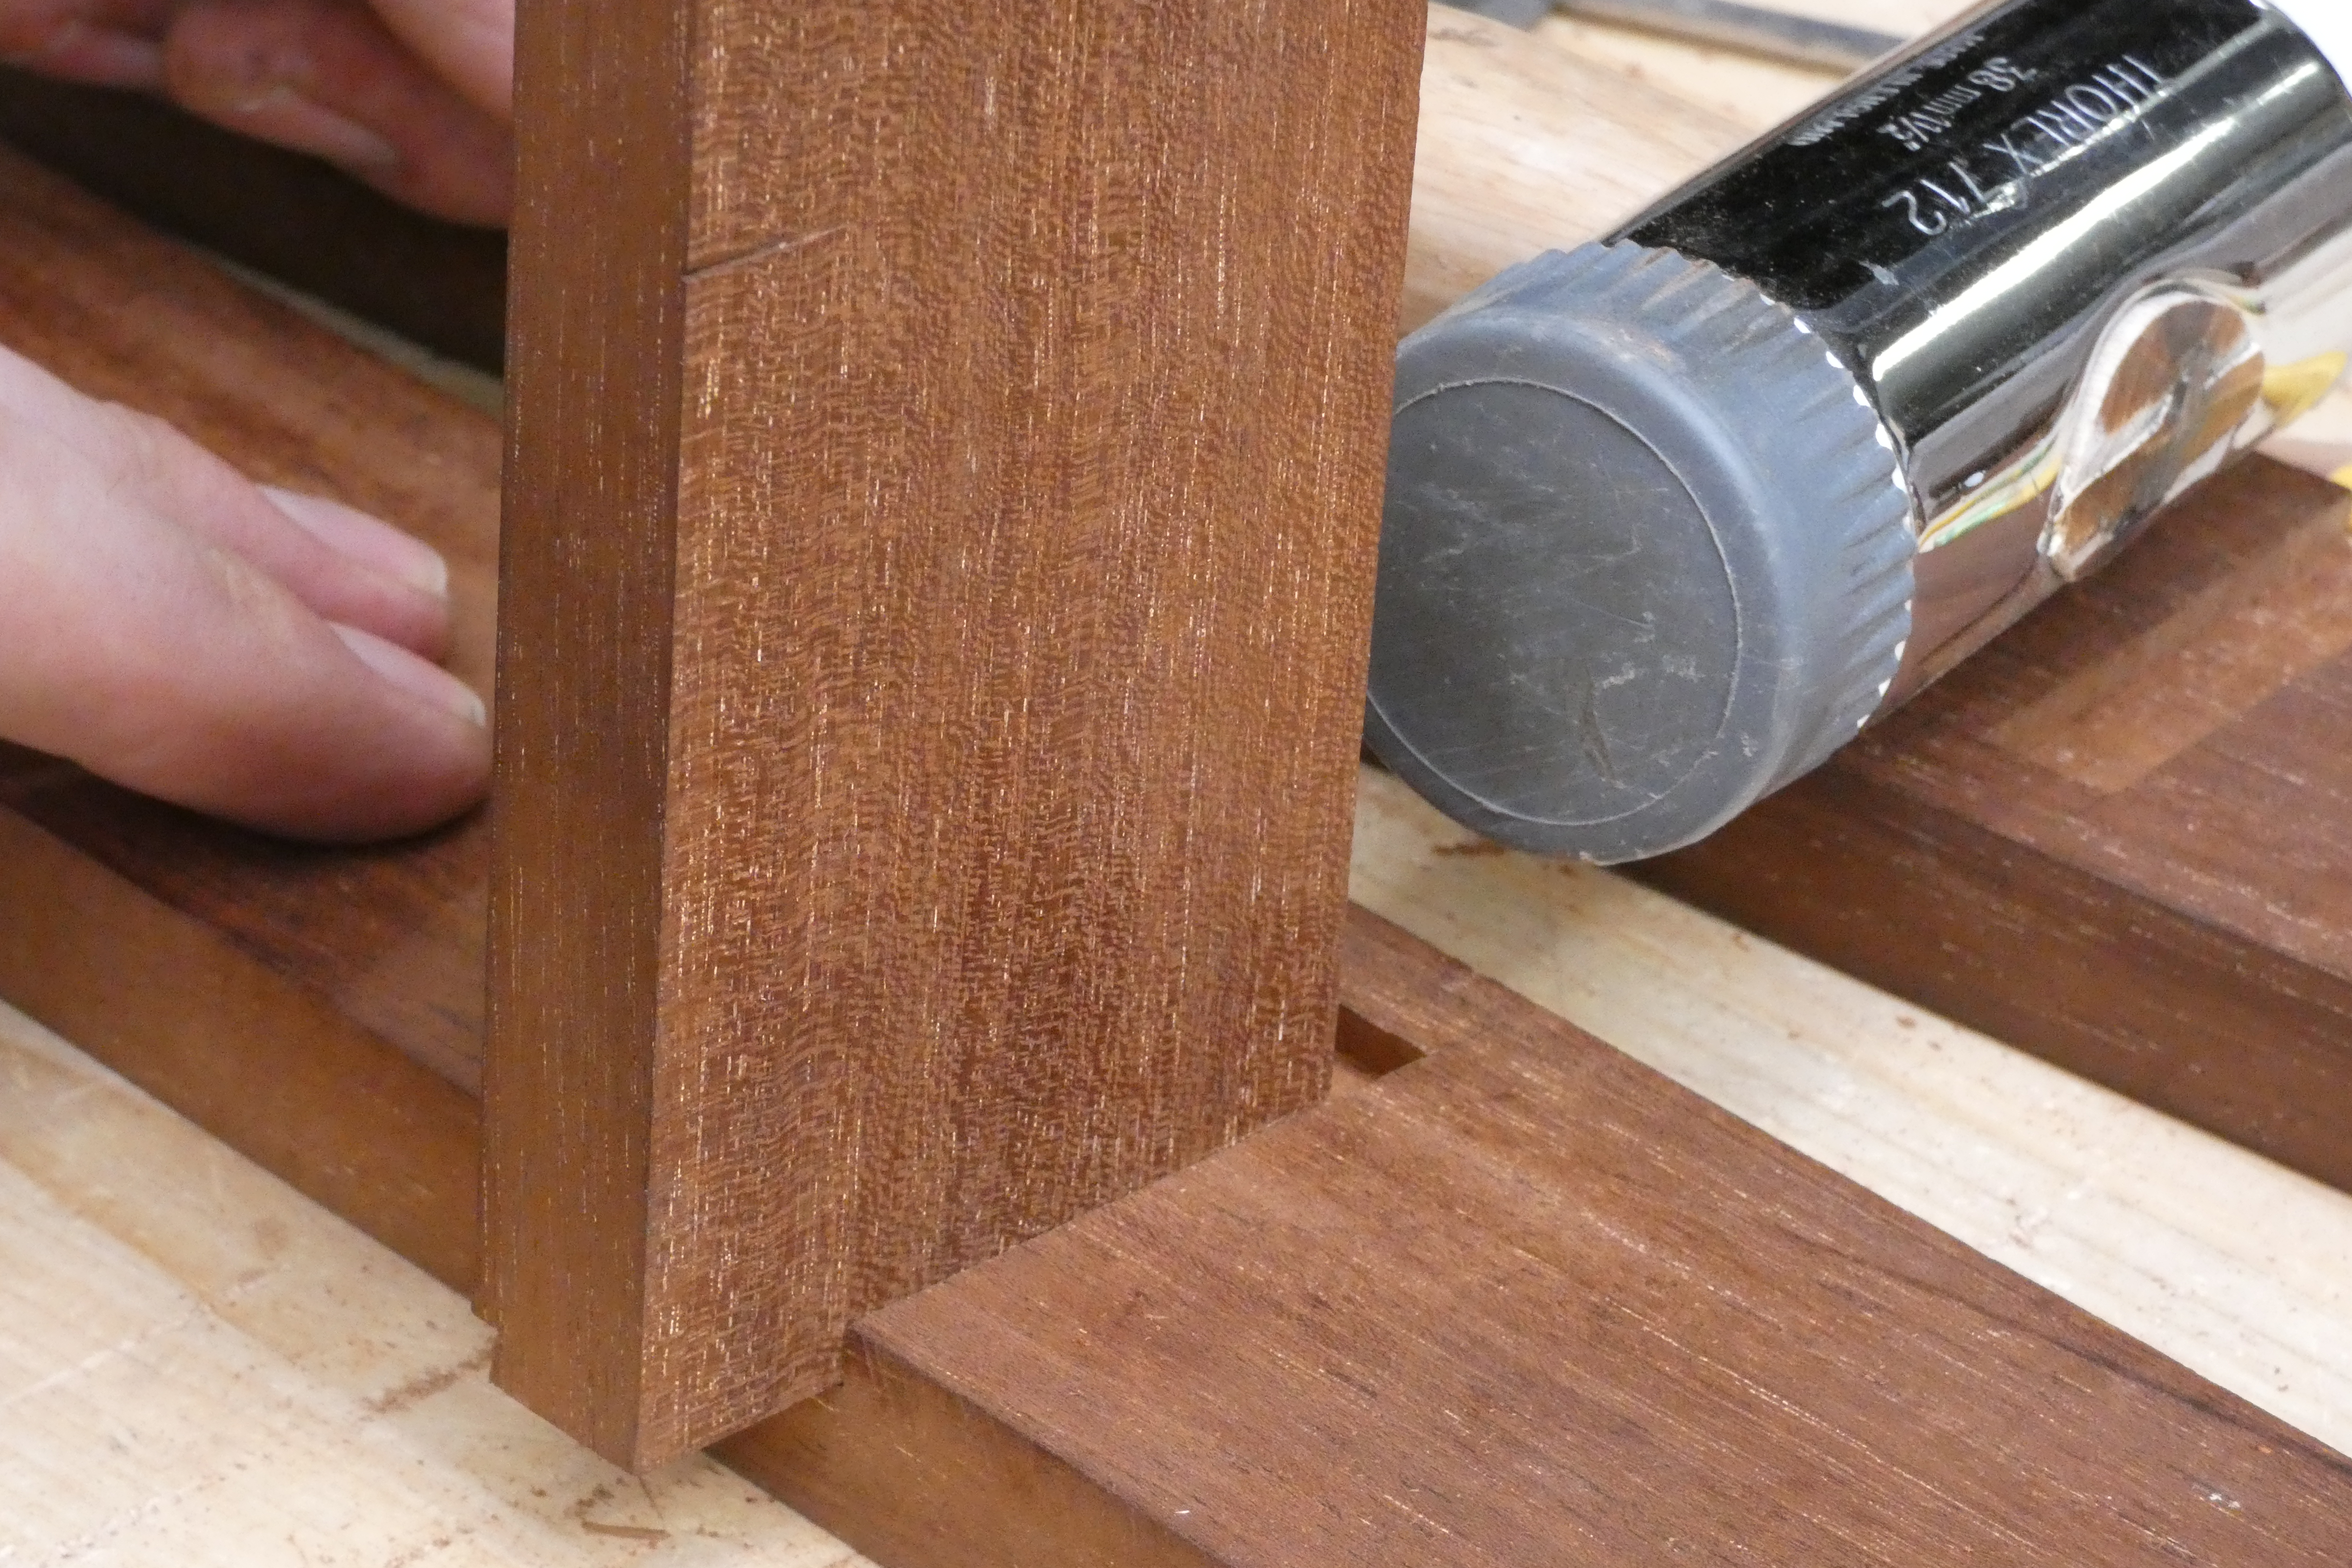
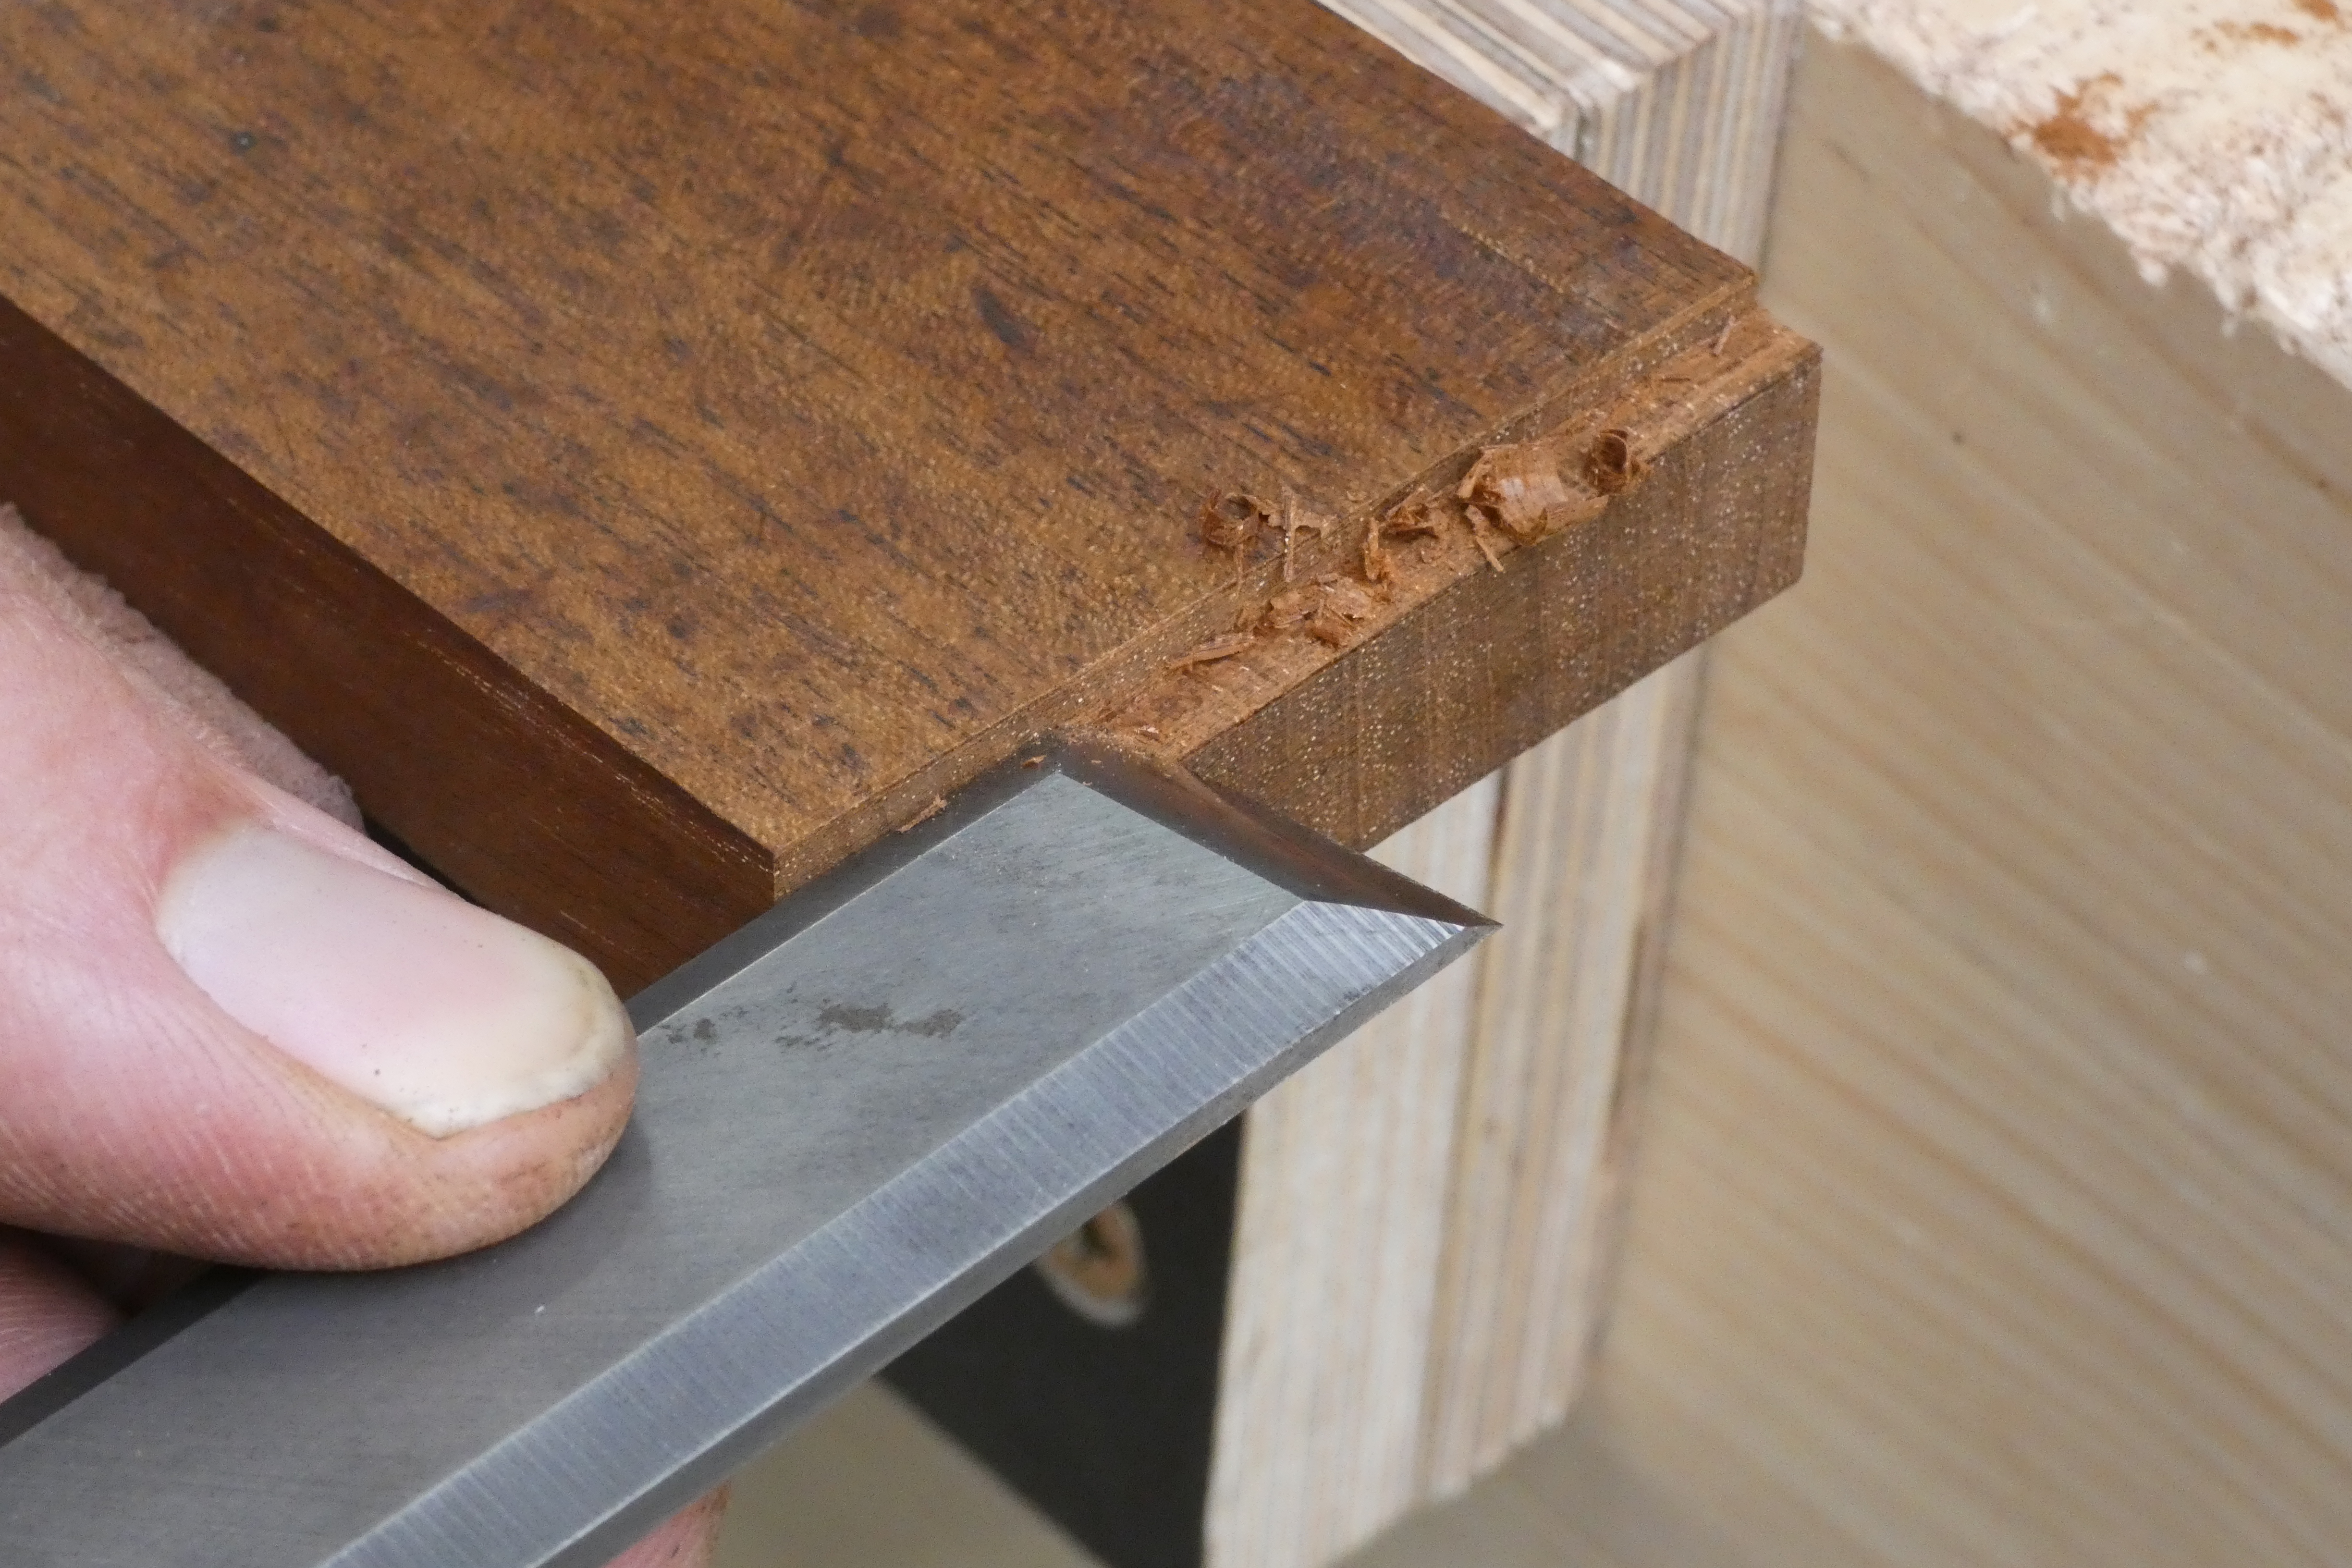
Fitting is perhaps the most critical stage. Guide yourself with bruise marks, hold back from taking too much off in one go and don’t be discouraged if you have to test the joint a dozen times (or even more). It’s worth the effort.
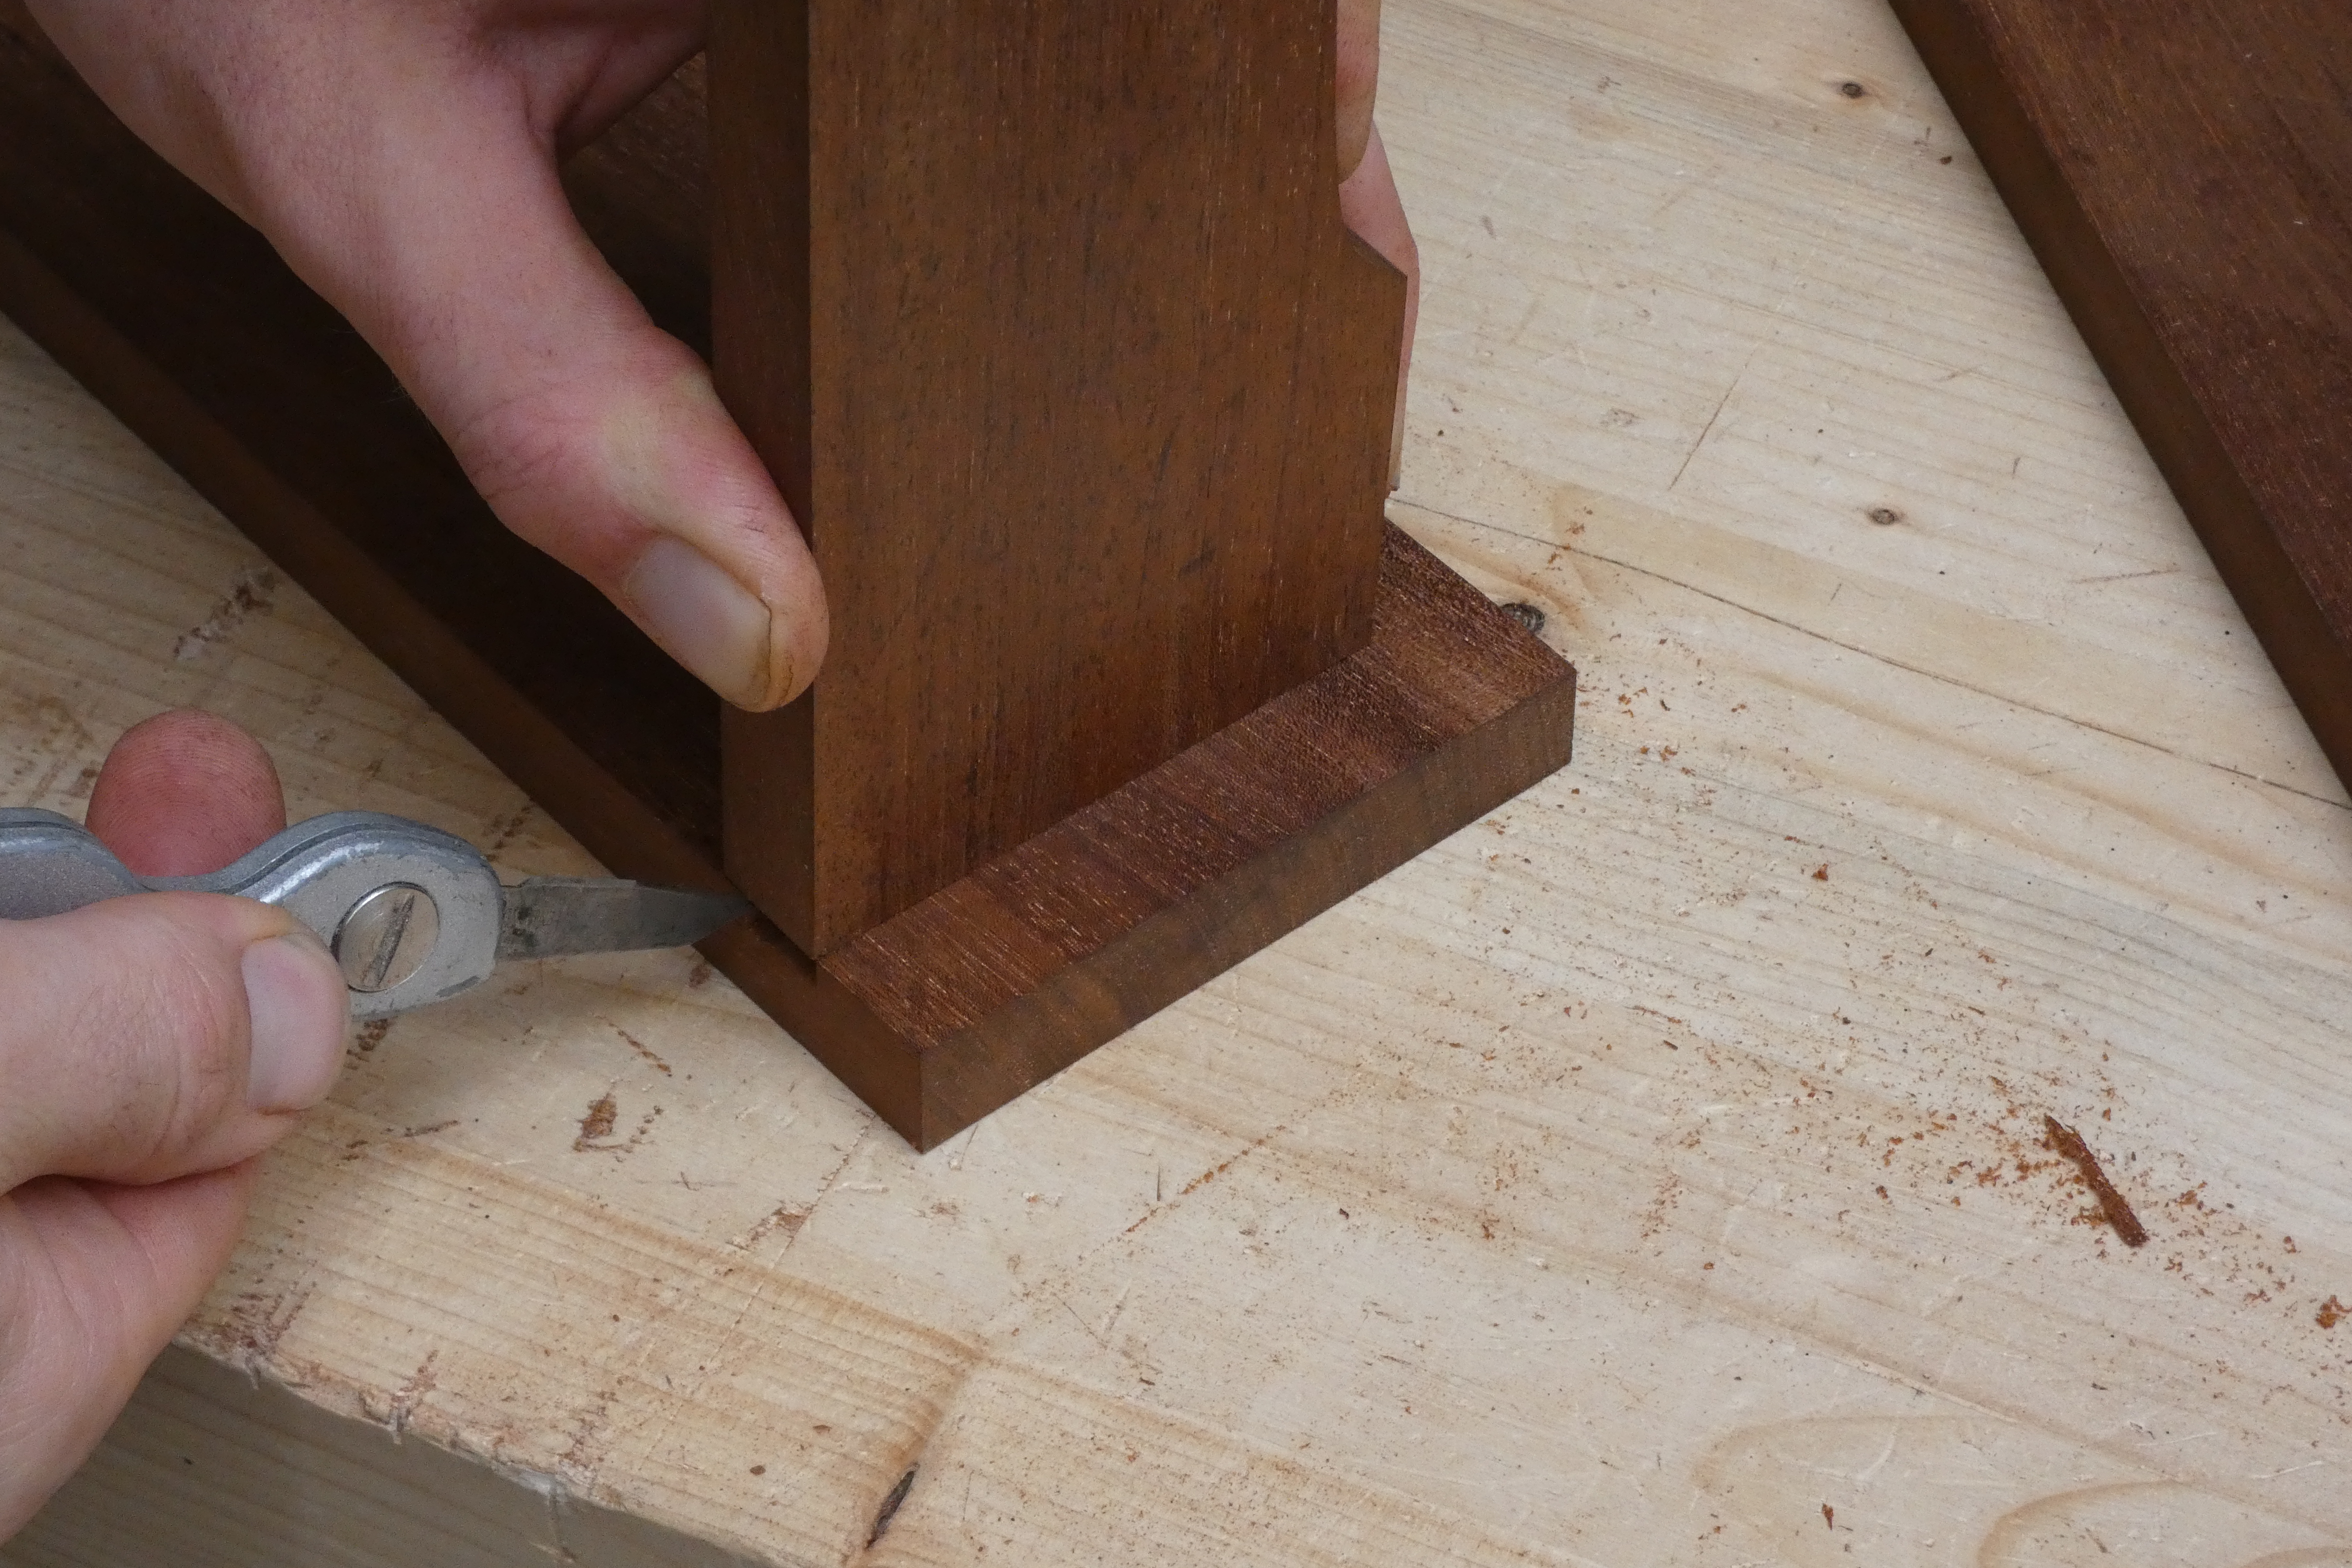
When the wall you’ve created is fairly regular and makes decent contact at least most of the way into the joint, you are just a step away from finishing. The beauty of these single-sided sliding dovetails is that you can now skim off fine shavings from the flat face using a smoothing plane until the joint comes together with just about the right amount of pressure. that way you won’t need to touch the dovetailed wall again. However, be sure to control how much you plane off because a little too much will make the joint sloppy, which is quite frustrating when you’ve taken so much time to get it right. But even when that happens, your reaction or response (give up or persevere) is a key part of mastering this joint and ultimately the craft of hand tool woodworking. Keep at it. You’ll get there if you persevere.

Further Considerations
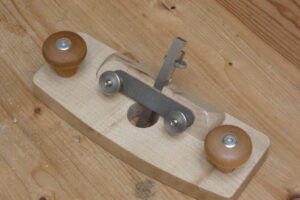
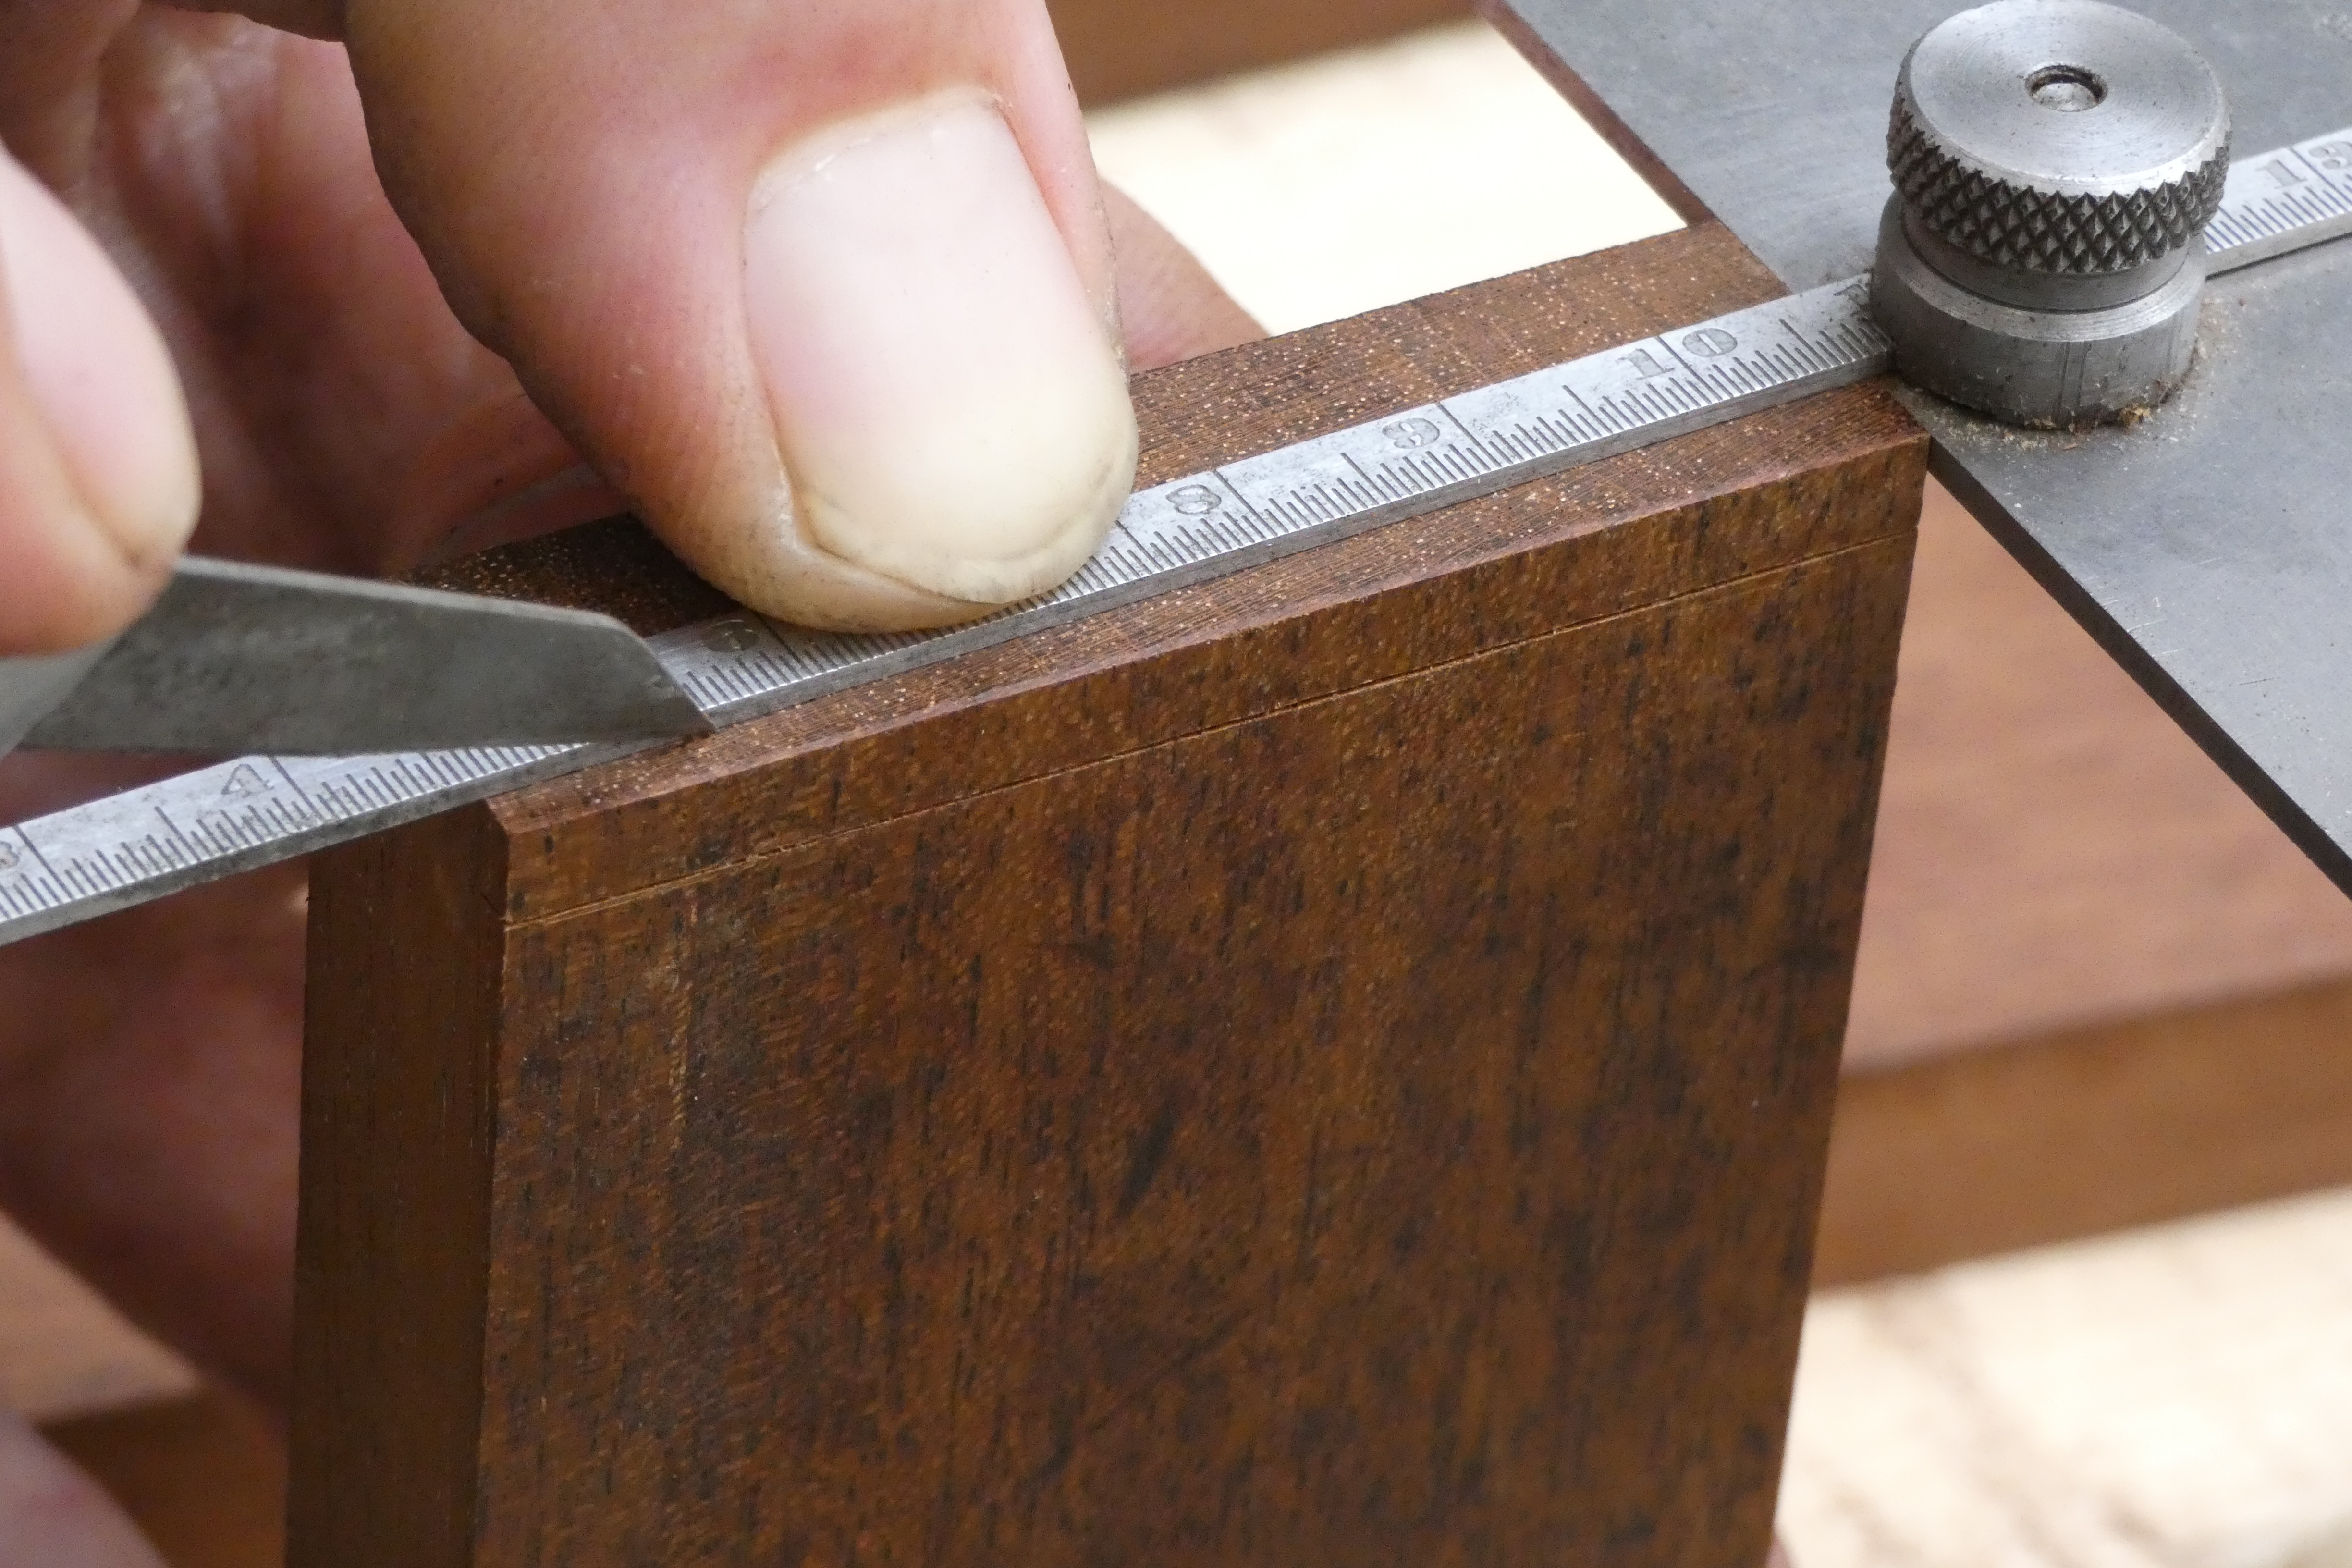
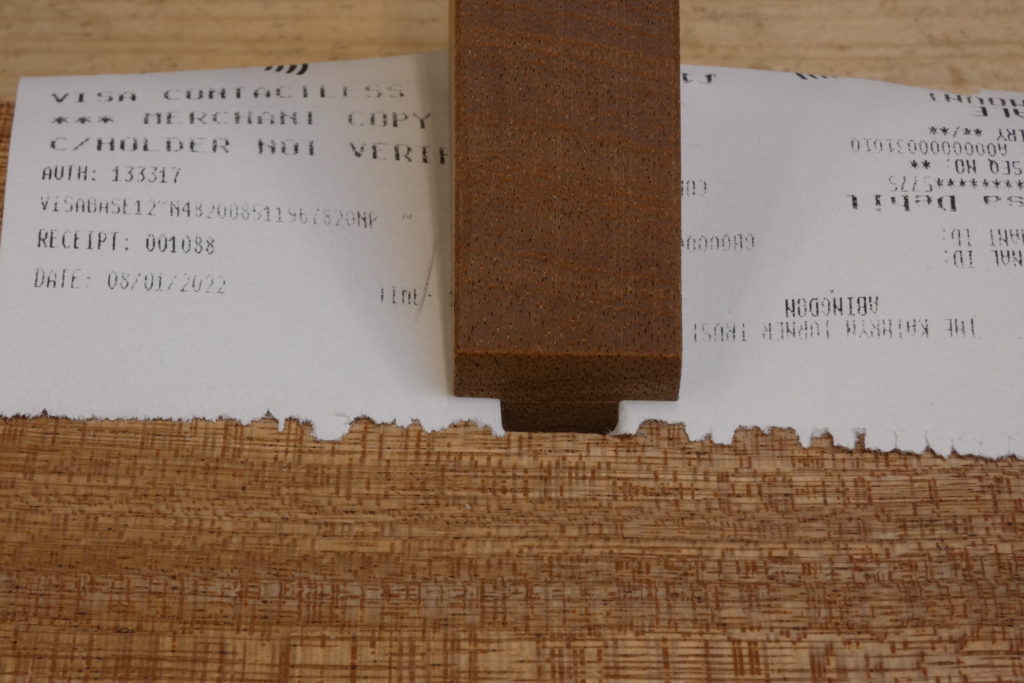
On certain woods, the bruising can be hardly visible, if at all, but you can still observe from the ends to see which end is tighter, and use that as a starting point. Alternatively, I found that you can slip a thin strip of paper (such as a shop receipt) down the side of the recess and test the joint again. That should clearly show where the areas of most compression are. The photo below shows a double sided sliding dovetails to hold a peg in a coat rack but it works just as well for the single sided version of the joint.
You may also be interested in:
Paul Sellers’ Blog: Sliding dovetails slip perfectly in place
Trivia: If you still like to think of this joint as a type of dovetail joint, then consider the following: the sliding dovetail is the only context Paul will ever cut ‘pins first’.