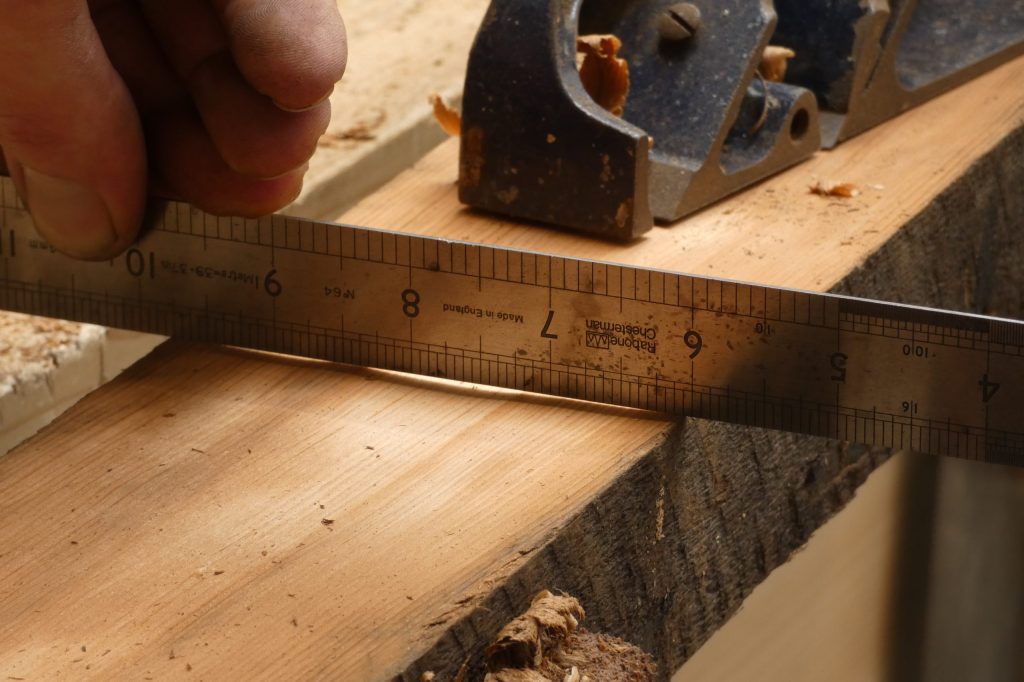
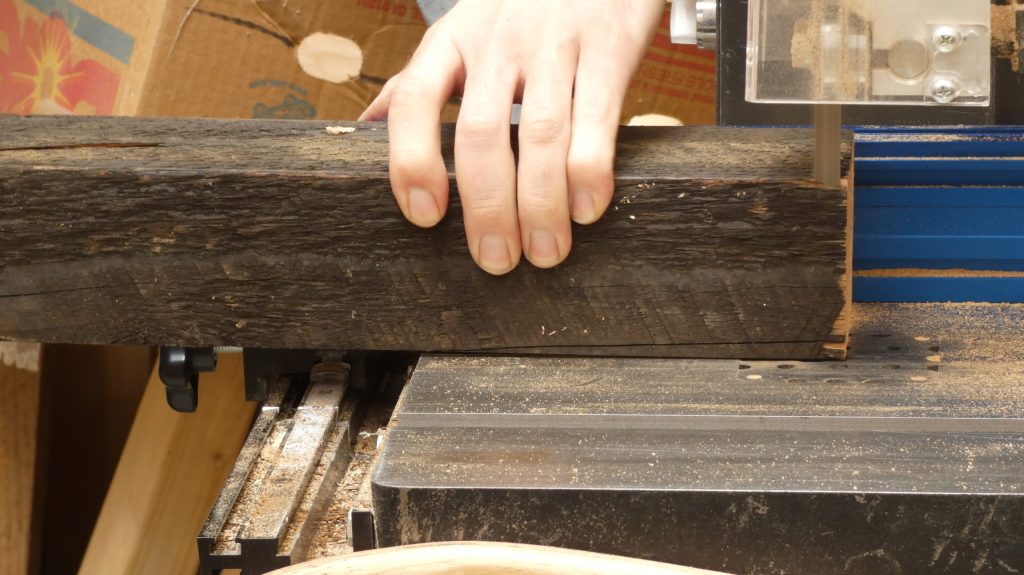
As I wrote in my last post, I am making a workbench using reclaimed timber (rafters mainly) from the roof of Paul’s house. The image at top of page exemplifies the challenge ahead: turning pieces like the rough-sawn (and rather weathered) section on the bottom into trued, workable sections like the two above it. They must be planed true and ready for the next stage, be that joinery or laminating.
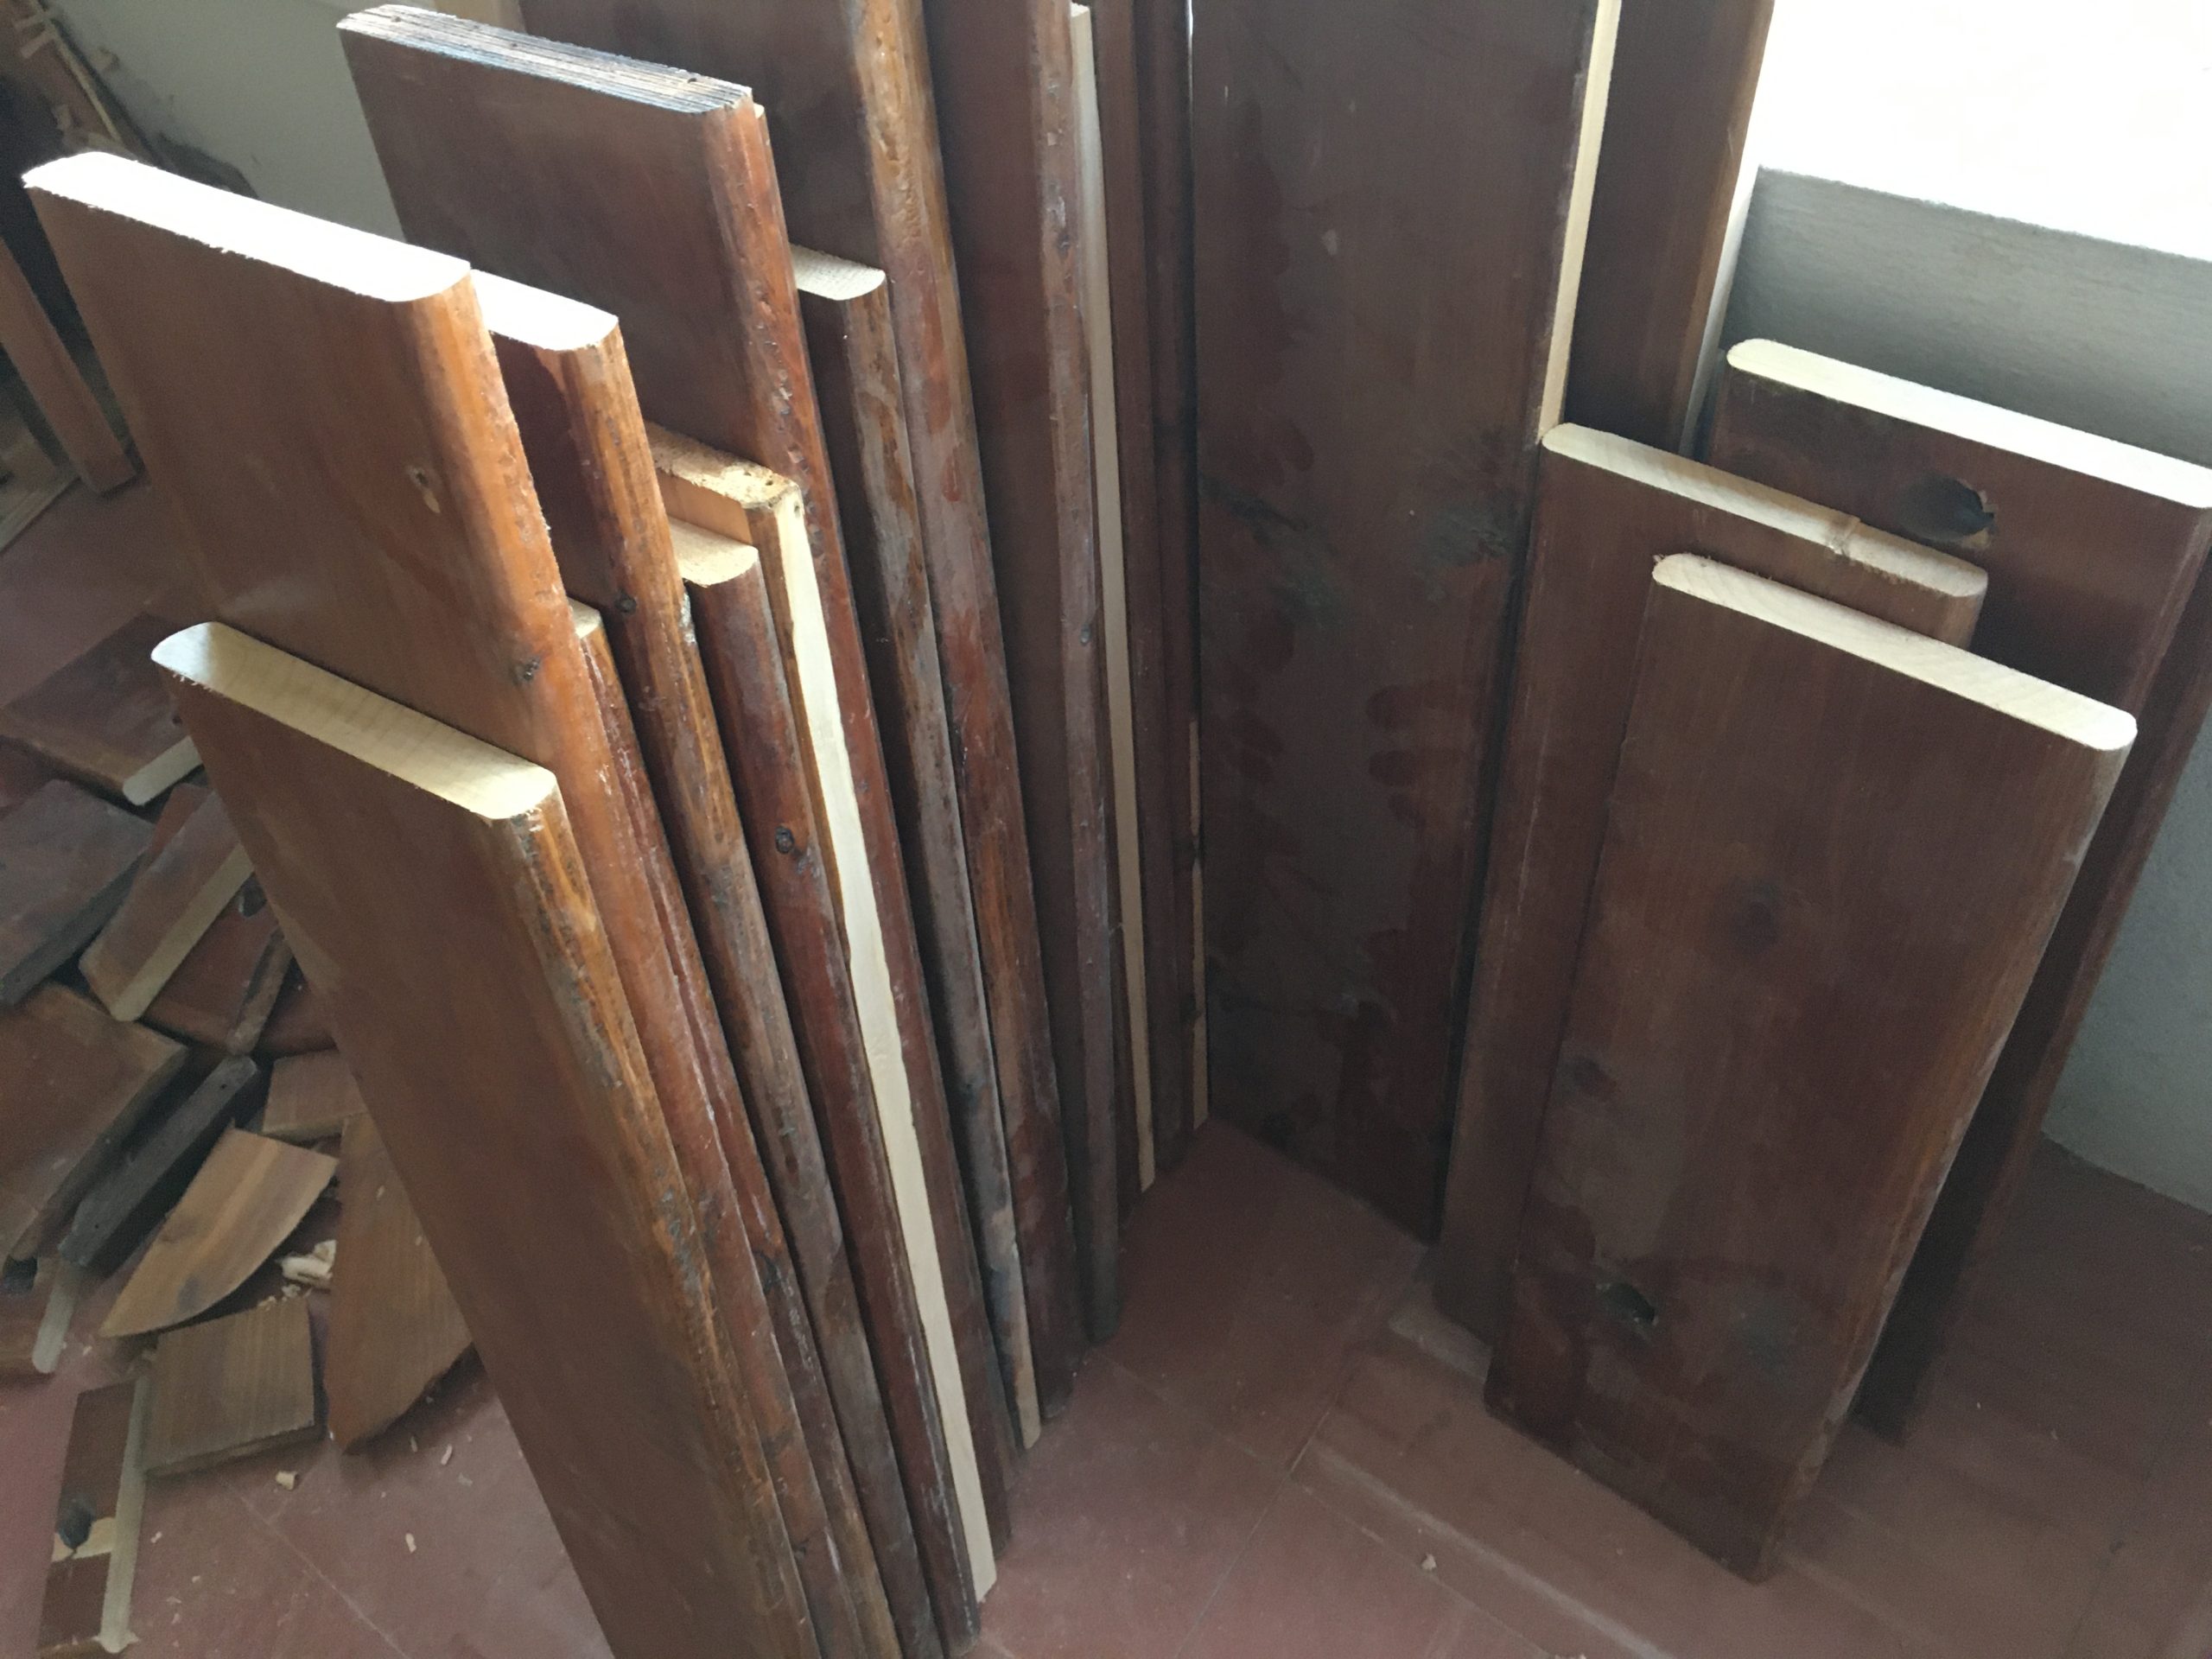
To my surprise, the single, large 4″ x 5 1/2″ (100cm x 140cm) beam (or whatever it’s called) from which I cut the rough section above was fairly square, which meant I didn’t have to loose a lot of wood to true it up. However, as you might expect, the narrower rafters which will make up the benchtop, aprons and rails, with a cross section of 2″ x 3 3/4″ approx (50mm x 95mm), aren’t in the same condition and will need some extra work (see photo below for a graphic idea of what I mean).

In a way, I was relieved that the material requires a fair amount of work because otherwise it would be like using fresh, machined stock, and the main focus on the workbench, as far as I can see, is wood prep: making large, laminated sections from smaller stock that will then be assembled together by different means that results in a solid structure capable of withstanding a lot of stress through decades of use. Accuracy in this step makes all the rest so much more straightforward.
Besides, this gives me a better idea of what the real cost is to recycling or repurposing secondhand wood: I can already confidently say that this workbench would have been cheaper if I had bought kiln-dried redwood. So no, it’s not ‘free wood’ in any way. Those who would say otherwise probably undervalue their time and work (sadly, I’ve been there in the past).
Thoughts from a 2020 lockdown project using reclaimed wood
As Paul advised me on how to go about this process efficiently, I recalled the kitchen drawers I made for my parents during the first lockdown. I made them from an old space divider that had to be taken down from a clinic for health and safety reasons. It was a rather knotty yet manageable wood know in Patagonia as “cordilleran cypress” or austrocedrus chilensis. However, both edges of each panel had a half round profile and the whole surface was covered in a thick varnish.
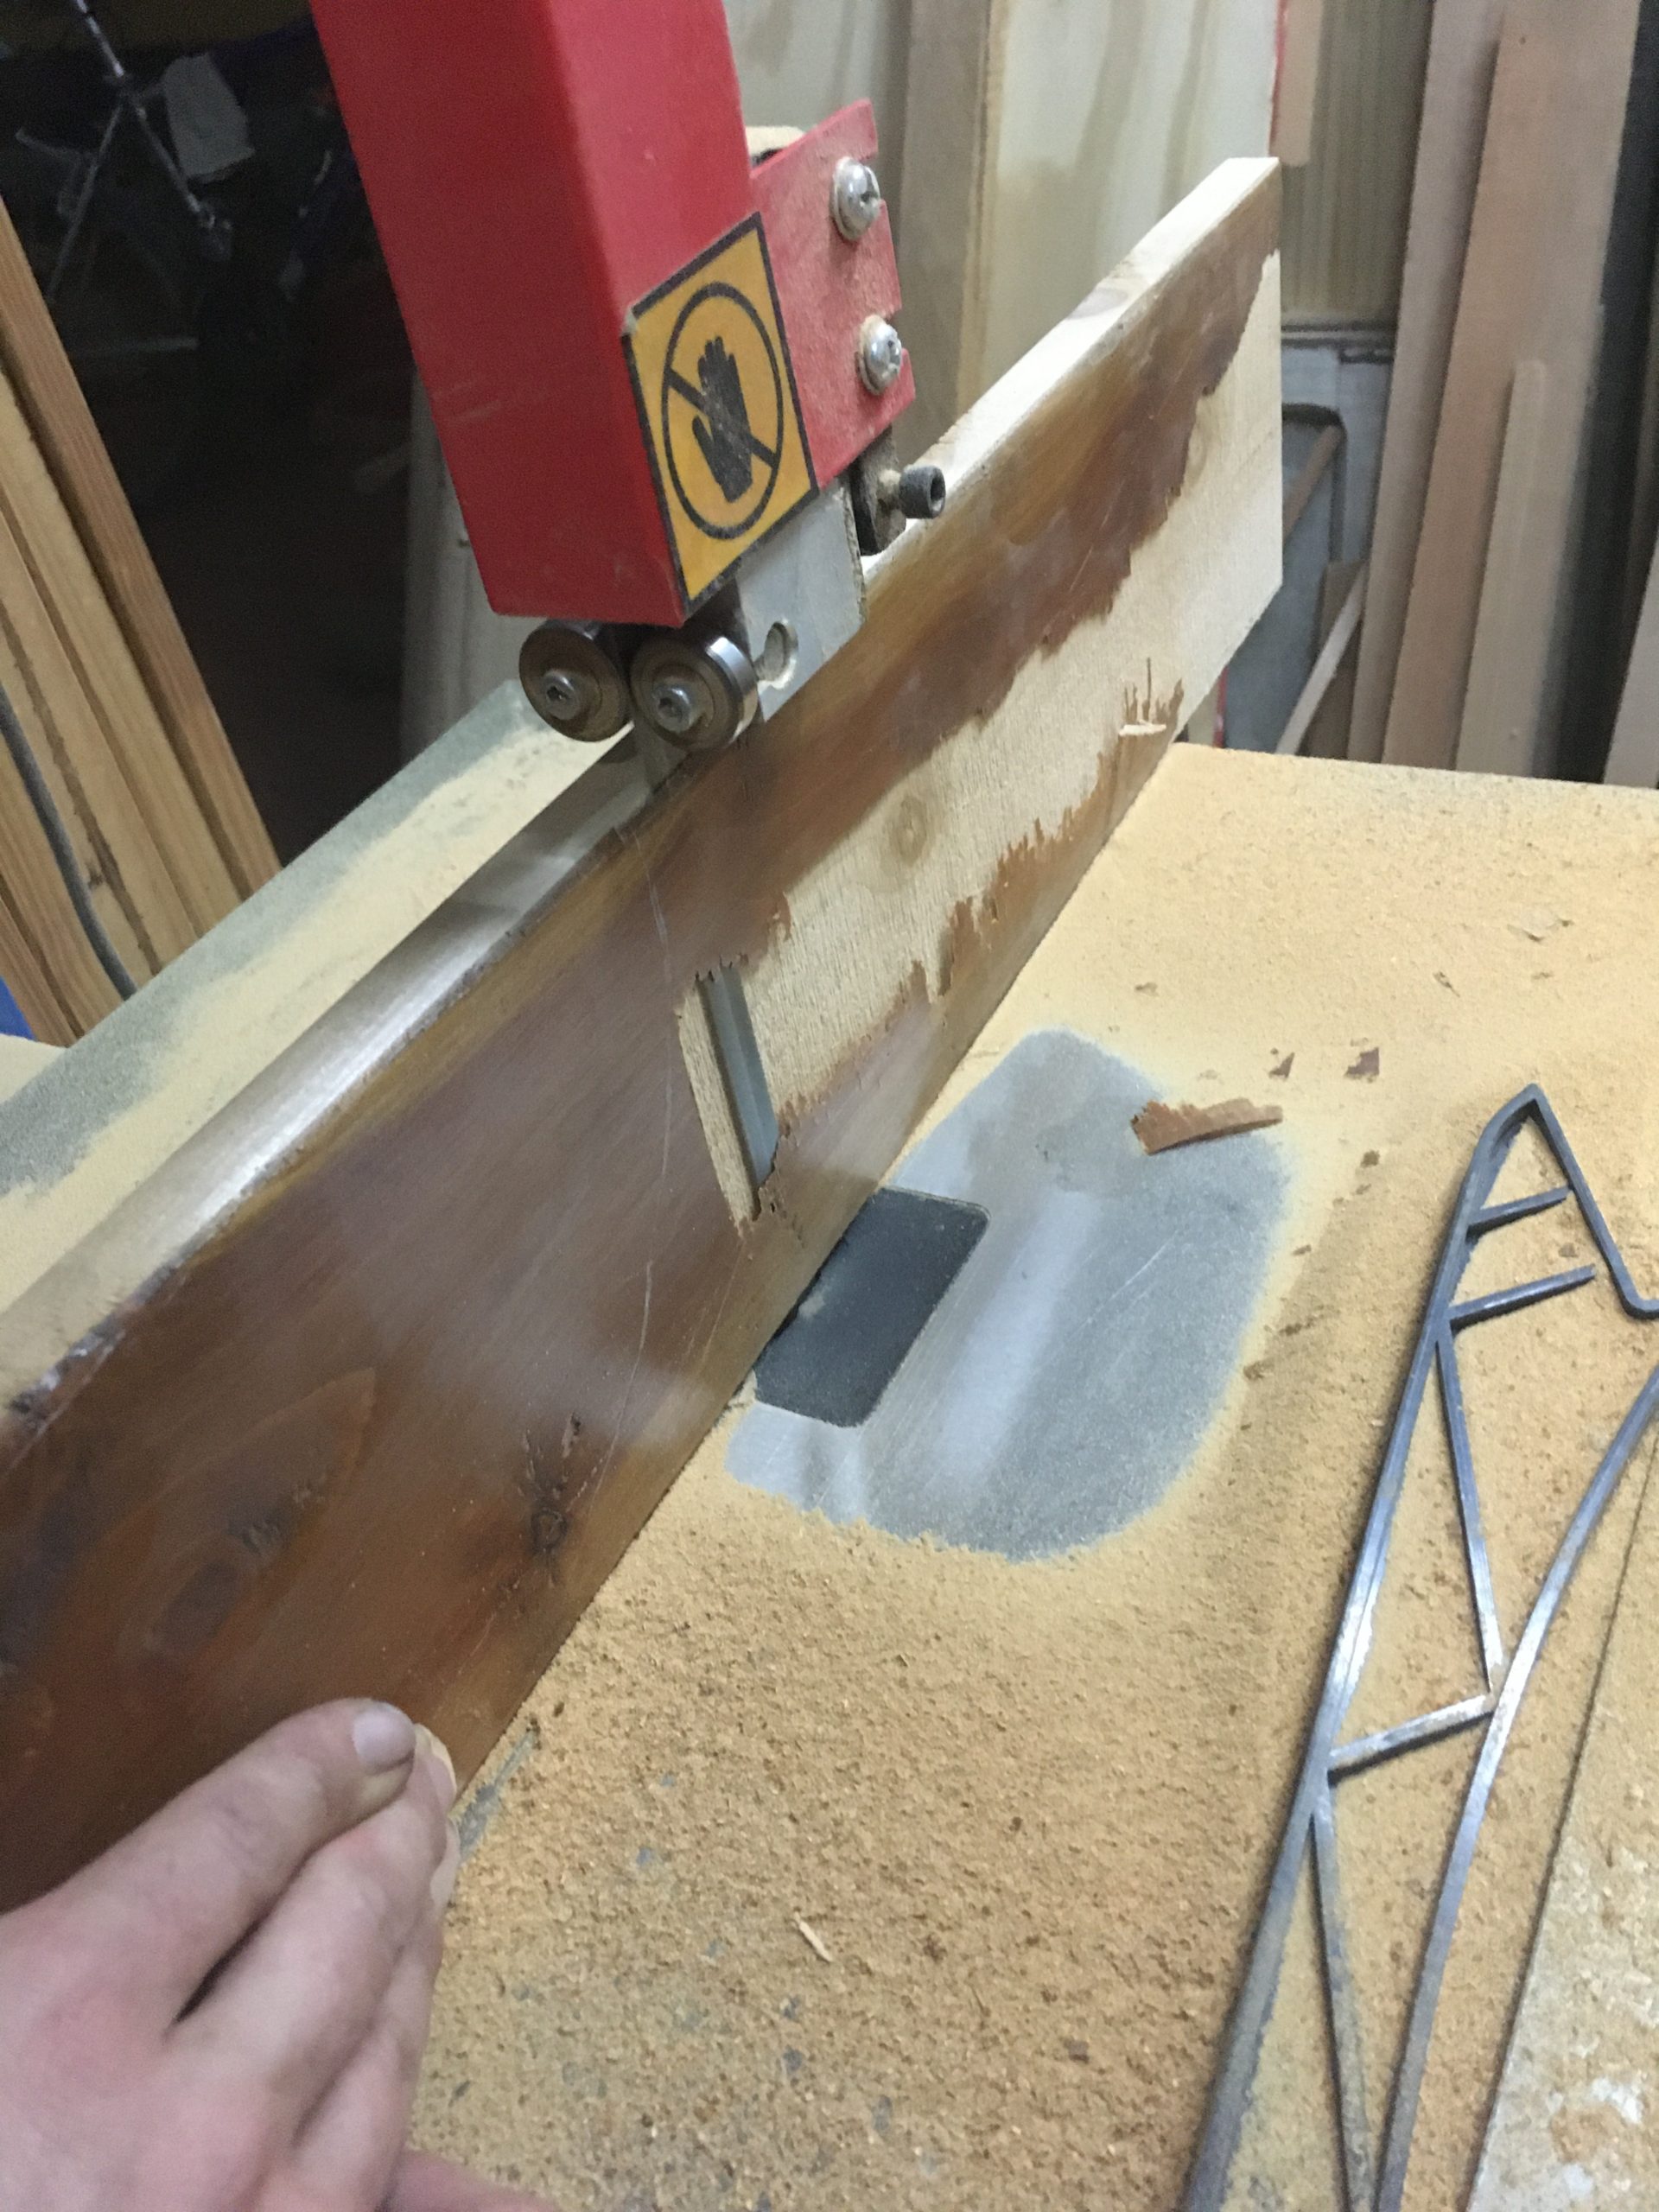
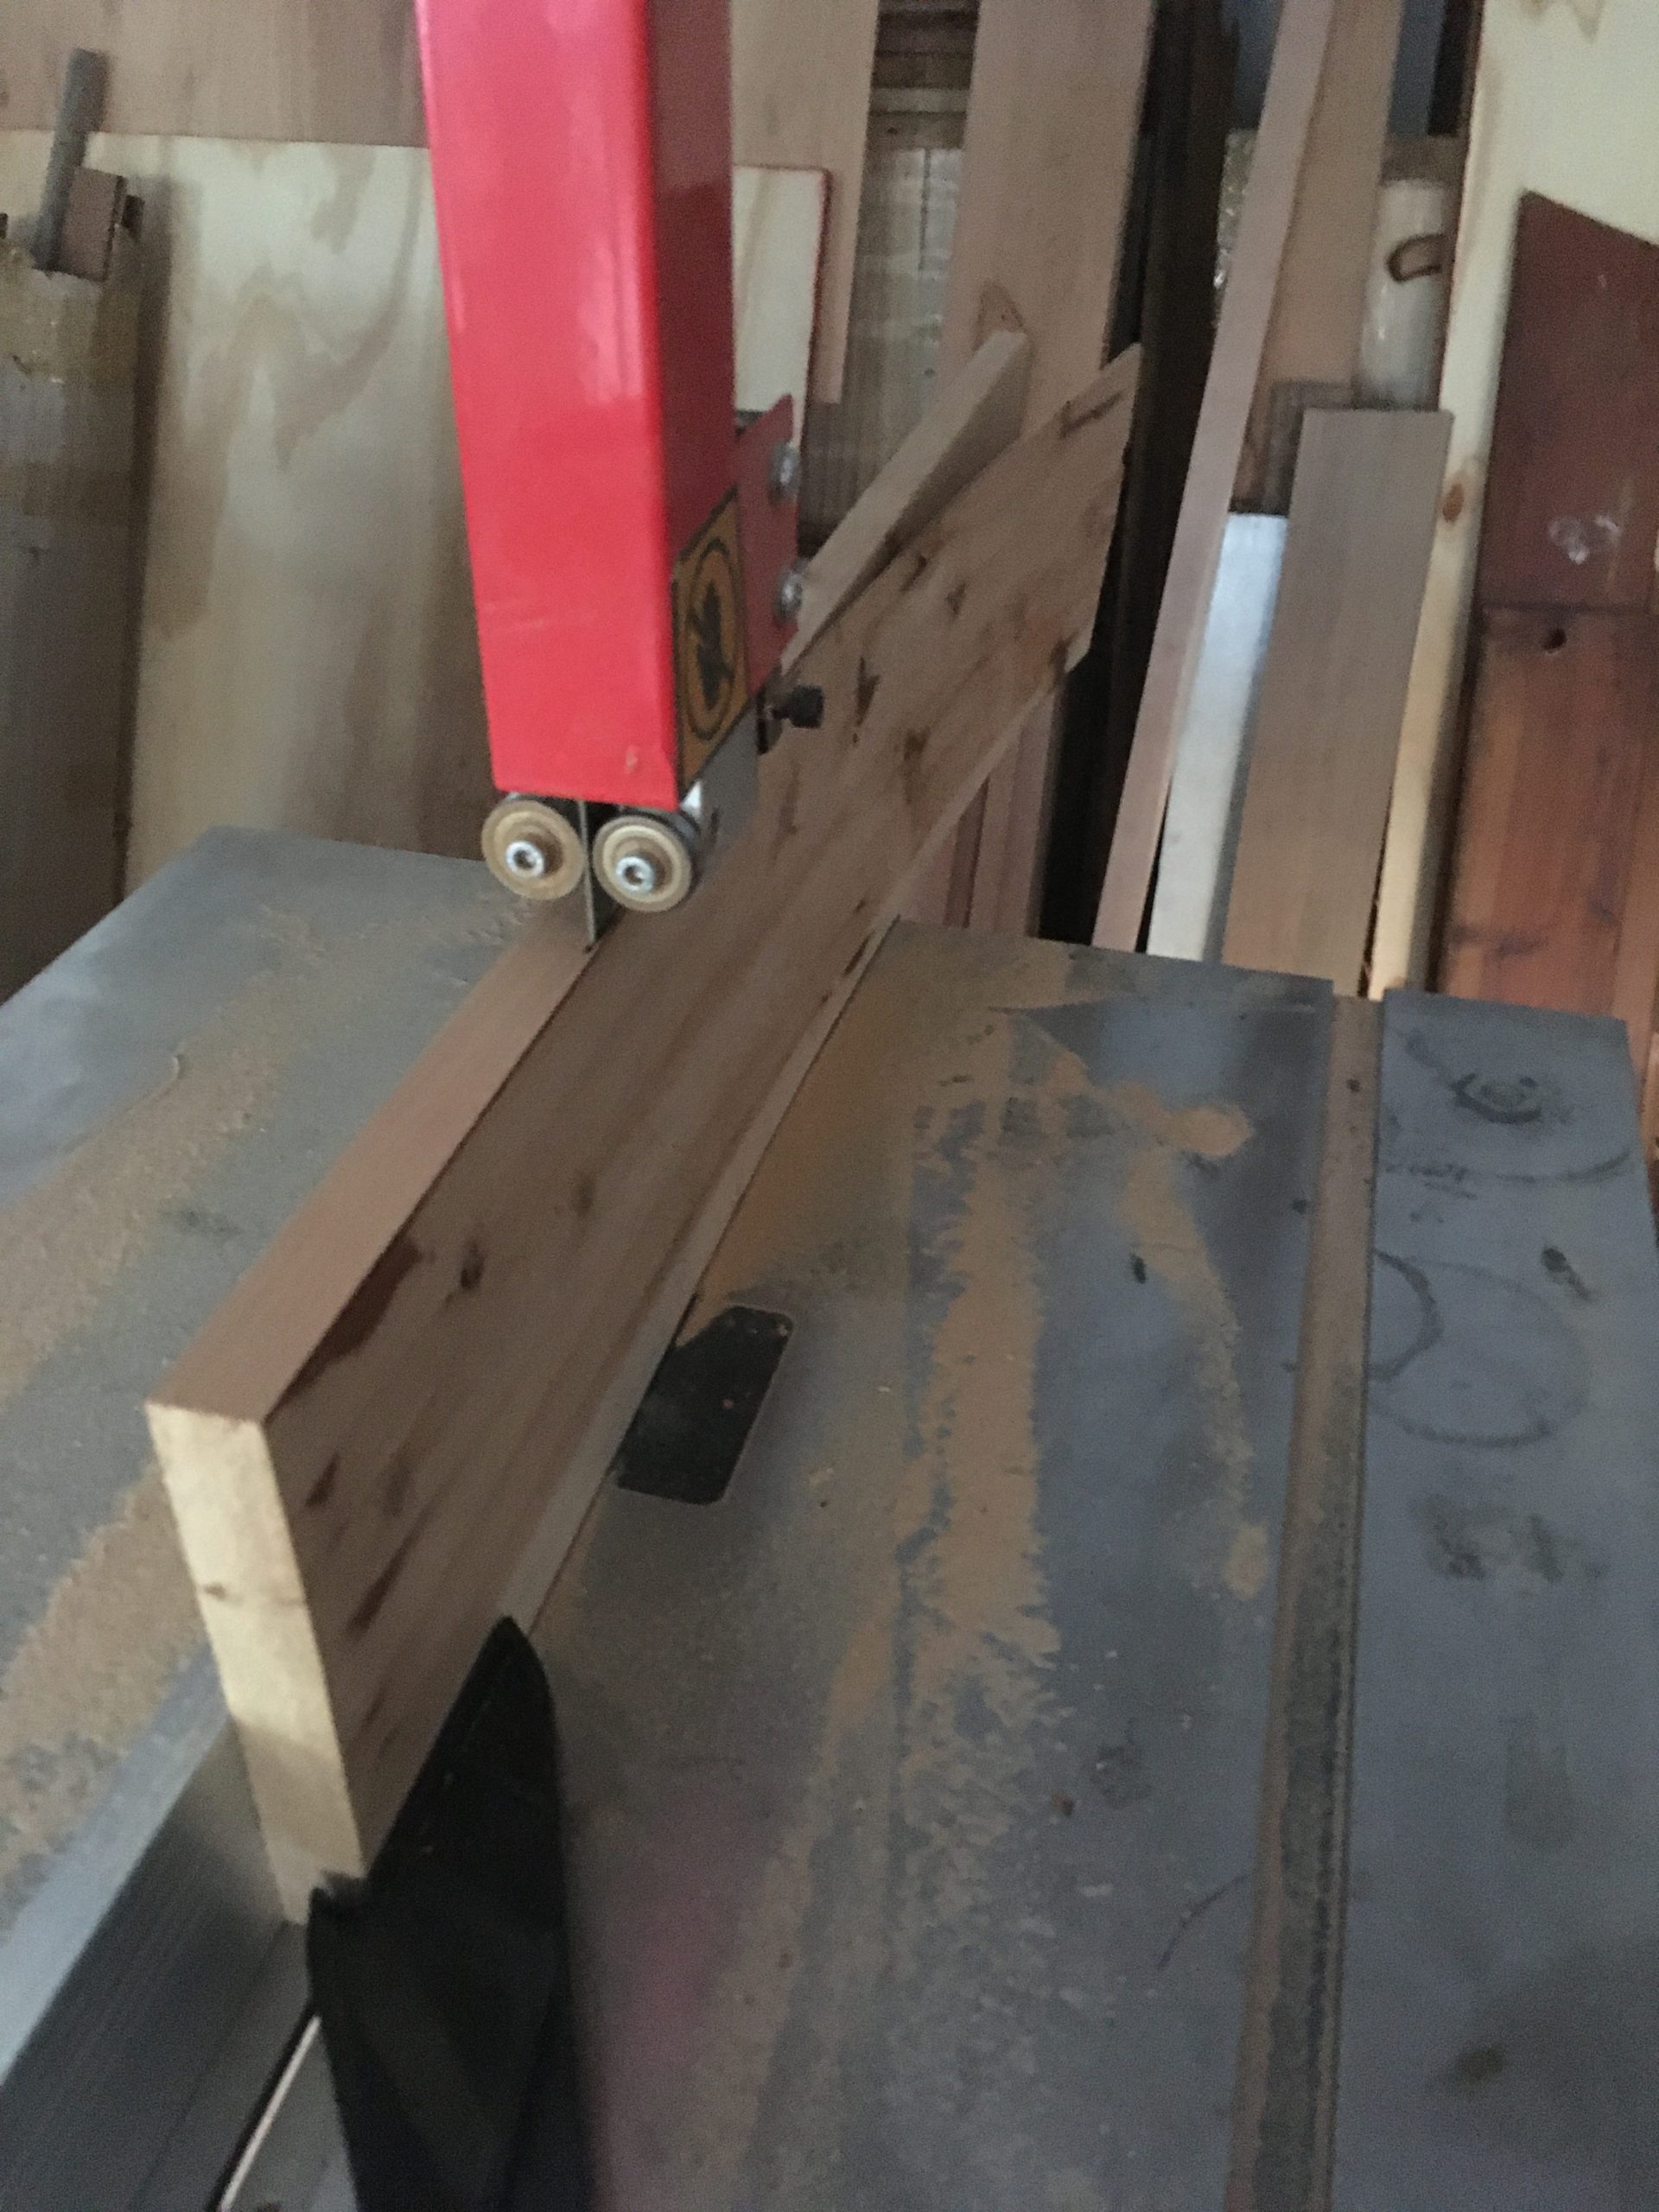
The best method I found then was to plane one face and edge (scrub, then level somewhat), just enough to run through the bandsaw and take out the other varnished face. I could then clean up that new face and use that as a trued surface to run the board through again and take out another layer from the initial scrubbed face to get to the thickness I needed. No doubt I had seen Paul do something similar back in North Wales when prepping rough sawn wood, which requires a similar process. Below are some shots of the different stages, which I’m currently applying again at a larger scale.


Conclusion
The most efficient way to process secondhand timber is with a power planer/thicknesser… True, we all know that, but that doesn’t relate to the aim or title of this post. (By the way, I have been on the brink of buying such a machine, and may still do so if ever I find the need.)
The key issue lies in that the moment you mention hand-tools, you are instantly implying lifestyle. This exceedingly misused and overused term, in this context, simply means that work and leisure are no longer independent (end of dualism?). In other words, the nature of your work directly benefits your physical and mental well-being. Therefore, if work is no longer a ‘necessary evil’, you will be generally willing to take more time and energy to accomplish the same results. (After all, if you work with hand tools, you don’t need to go to the gym or get your morning jog, just to state the first and obvious advantage.)
If this is the case, one would ask, why not take it all the way and not use machines altogether? Well, you still have to put food on the table and pay your bills. So it’s about finding the balance so that you’re not taking too long but nor are you using machines so much so that it becomes the main part of your work and ends up distancing you from this material that knows no equal.
However, we MUST note here that this balance will be different for different people, not only according to their skill level but also, and fundamentally, their individual context and life situation. Whether this means shifting our existing work more in the direction of hand tools, or being able to get into woodworking in the first place thanks to the low-cost requirements of hand-tools (as in my case), we owe Paul a great deal of gratitude for giving his everything for this very pursuit over the decades. Ultimately, though, none of this is really about Paul, or even about his craft which he is so passionate for; the resurgence of the craft in the hands of amateurs is a victory for humanity, for at the deepest level, it’s about finding meaning in our work.

Leave a comment